Our Blog

Self Striping Scarf - A Rigid Heddle Project
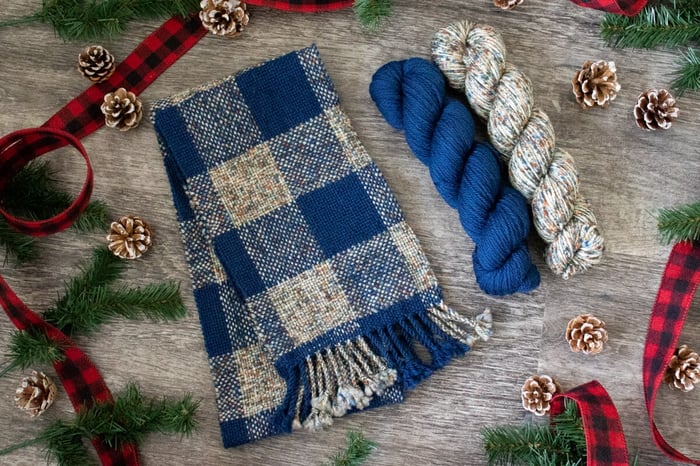
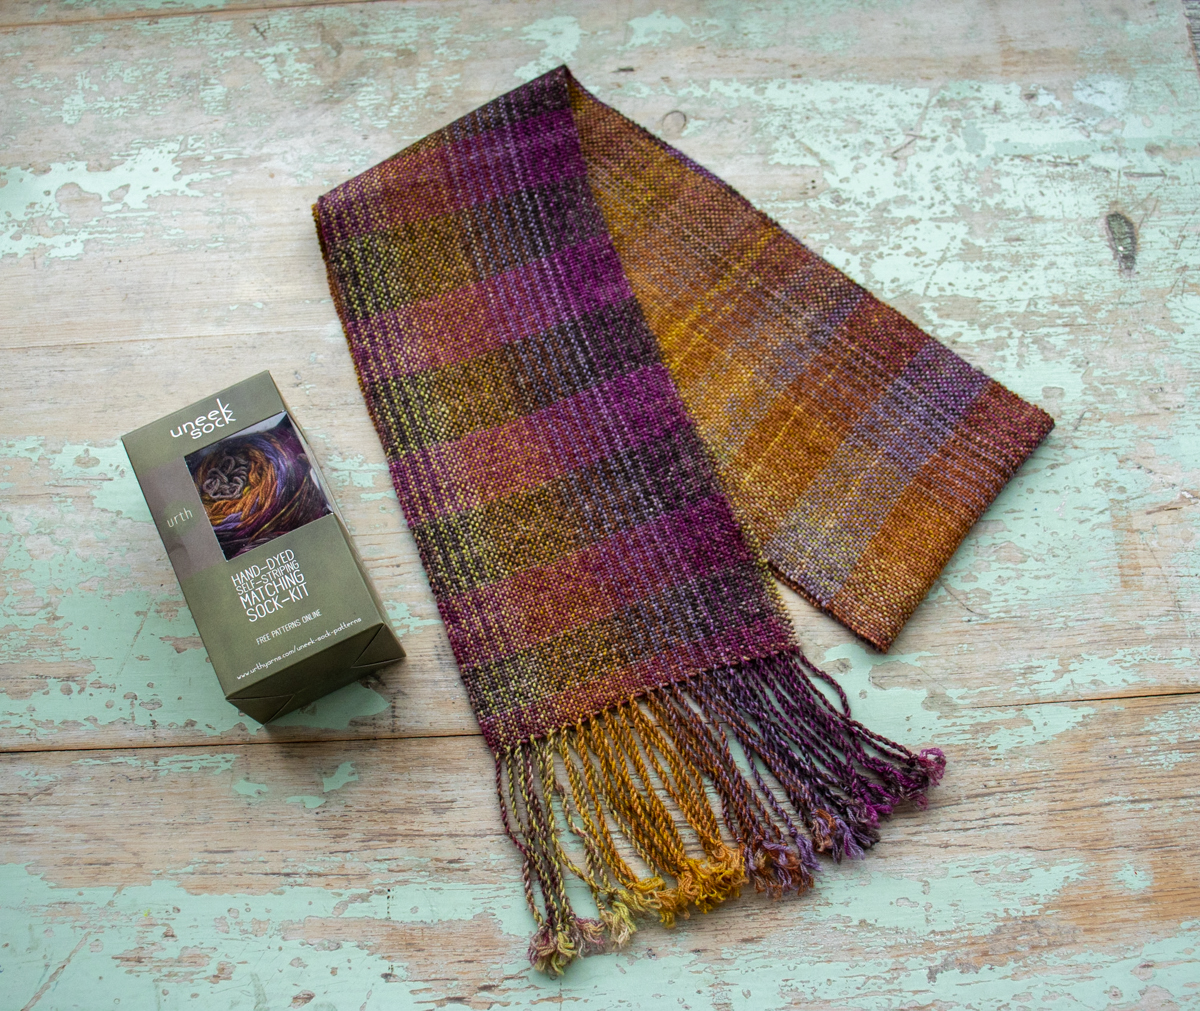
We love knitting with self striping yarn like the Uneek Sock Kit. This yarn makes your socks have a beautiful striped pattern with absolutely no work at all from you. The yarn comes in two identical center pull cakes so you can make matching socks. If you don't knit socks you can still use this fun yarn! We got the idea to try using one cake for the warp, and one cake for the weft. Our woven self striping scarf turned out great! Try it out on the rigid heddle loom.

The socks on the left are made with Color 56 and our scarf on the right is made with Color 59. We set up our warp so that it would create pinstripes without any effort. We also set up our weft so it would automatically create thick stripe bands. We thought this effect was so cool that we wanted to share with you how you can make your own self striping scarf!
Materials Needed
- Loom, we used the Schacht Flip Folding Rigid Heddle Loom but you can use any loom.
- 12 Dent Rigid Heddle or Reed
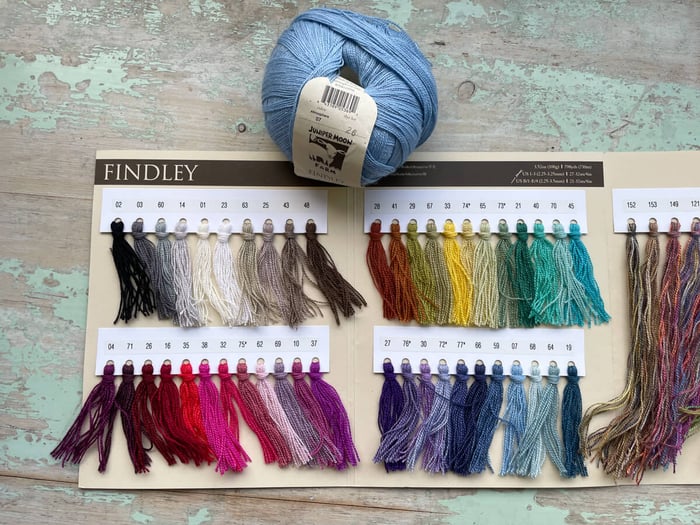
- 100 grams of Self Striping Sock Yarn, we used one Uneek Sock Kit in color 59. This kit has been discontinued, we believe that the Gusto Echoes Yarn will be a good substitute!
- Extra cotton yarn or string for lashing on
- Scissors
- Paper for Warp Separation
- Fringe Twister, this is optional
Pattern: Plain Weave
We wrote this pattern up for a Rigid Heddle Loom but you can also use a Floor Loom or a Table Loom! Check out our blog post, How to Create Plain Weave on a Multi Harness Loom if you need help setting up your treadles!
![]()
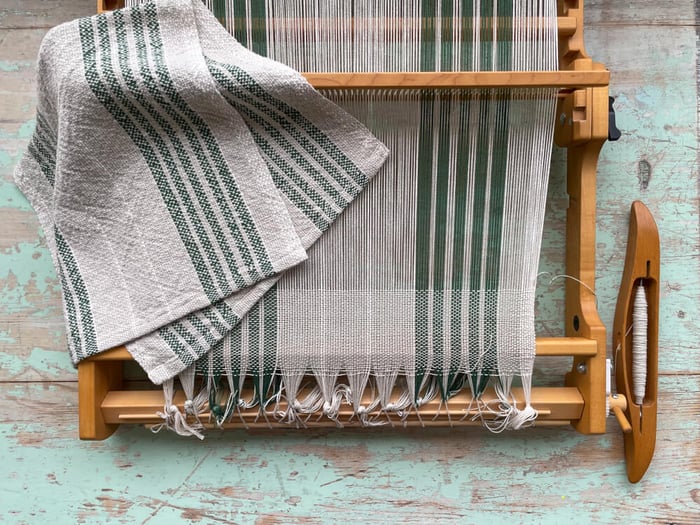
Warp
If you're using the Uneek Sock Kit like us then you will be making an 80" long warp because each different colored stripe is about 160" worth of yarn. If you make an 80" warp you're going to get 2 ends per stripe in your warp. If you're using a different yarn you will need to measure how long your stripes are to determine how long your warp should be. We were shooting for about an 8" warp and ended up using all of our first ball of the Uneek Sock Kit and got 87 ends, at 7.24" wide.
We also measured the West Yorkshire Spinners Signature 4-Ply Winwick Mum Collection, because that is another self striping yarn that we carry and it also works out to have an 80" long warp!
Amy made a YouTube Video for you that details how she set up the warp for this project so you can follow along there!
We decided to lash on our warp to our loom rather than tie it on. We did this because lashing on allows you to use as much of the yarn as possible. This is a great technique for this project because you are limited in your warp length due to the size of the stripes in the yarn. We have a YouTube Video tutorial on how to lash on for you. We promise, it's really simple and not scary!
We left about 4" of yarn to be our fringe before we started weaving.
![]()
Weft
When you work with a self striping yarn you need to make sure you are keeping your color sequencing in order in your weft. The same technique we use in our Watercolor Scarf Project will work perfectly for keeping your stripes in order! We have a full YouTube Video for this technique here:
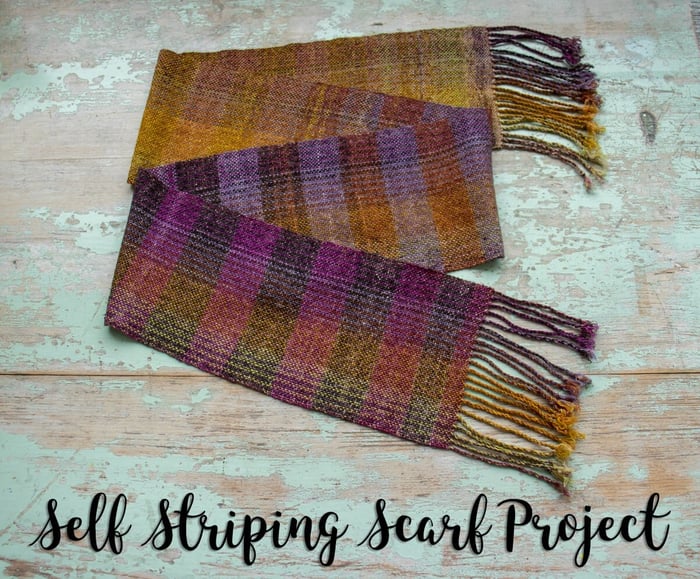
Once you have your color management all planned out you can weave away! Our scarf's EPI (ends per inch) is 12, because we're using the 12 Dent Rigid Heddle. Our PPI (picks per inch) was 12. You should measure your PPI as you go to ensure you are able to make your scarf long enough, if you overpack you will have short scarf. We stopped once we ran out of our weft yarn. This gave us 59" of woven fabric.
We twisted our fringe together in bundles of 2 so each fringe has 4 warp ends in it.
![]()
This was a super fun quick project to weave up and we can't wait to try out different colors of the Uneek Sock Kits to see all the different stripe sequences we can make! We'd love see your own Self Striping Scarf Projects on Social Media. Share them with us on Instagram and Facebook!
![]()