Our Blog


Christmas Band Weaving: How To & Project Ideas
If you're wanting to dip your toes into band weaving without the commitment of buying an inkle loom, this back strap band weaving kit is a perfect way to get started!
 We're so excited to share this kit we've put together along with this comprehensive guide to getting started once your kit arrives and an idea of what to do with it once you've finished!
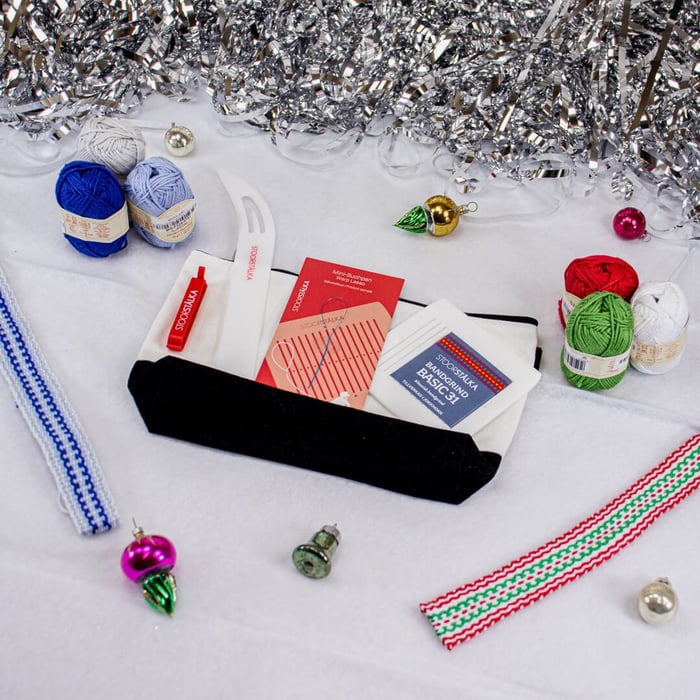
This band weaving kit includes:
- A small canvas notion bag for all your materials
- A Stoorstalka Basic 31 Heddle
- A Stoorstalka heddle threader
- A Gehpa shuttle
- A clip
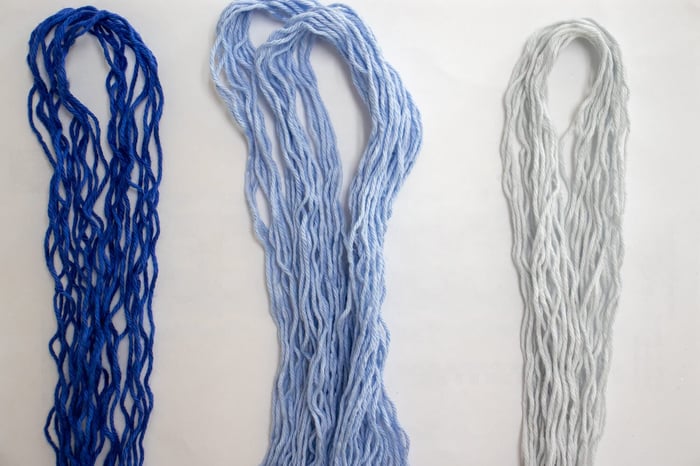
- 3 Sirdar Happy Cotton balls (You can choose between the Christmas or Winter colorway!)
- A printed pattern
Getting Started
Step 1: This project requires a total number of 31 threads each measured to 54 inches.
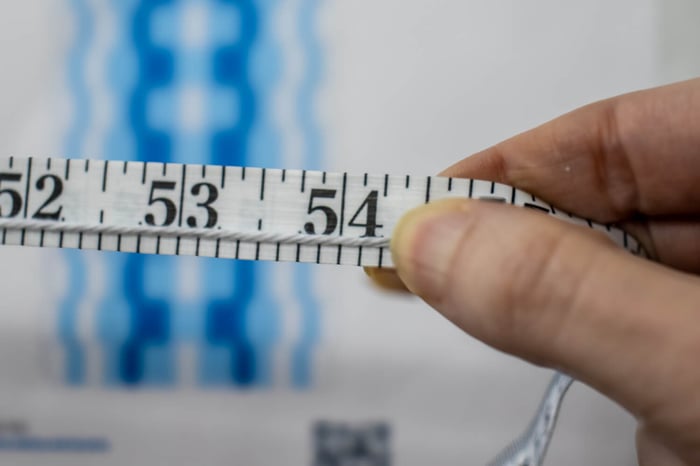
The pattern in the kit will tell you how many threads of each color you will need to cut to length (54"). Once you have all your threads cut, we found it helpful to lay them out next to each other before we threaded them.
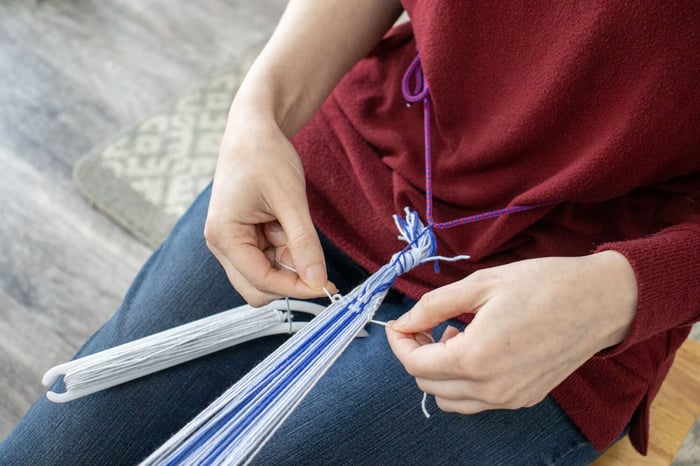
Step 2: Begin threading the heddle according to the pattern, working across alternating between the hole and the slot.
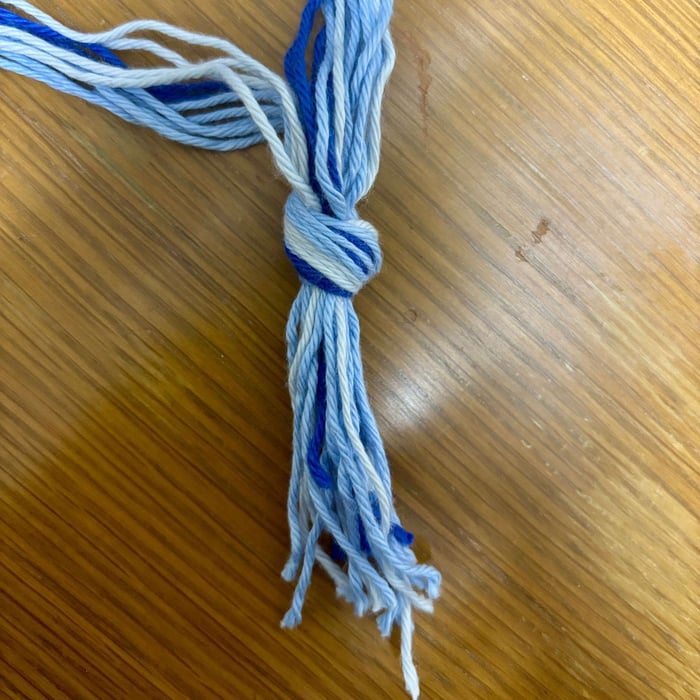
Step 3: Once you've finished threading the heddle, you'll need to tie each end of your warp in a knot to prevent all your threads from pulling through.
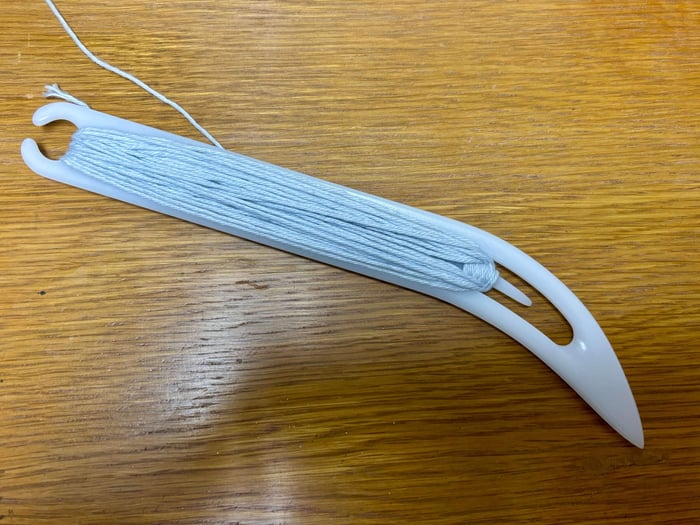
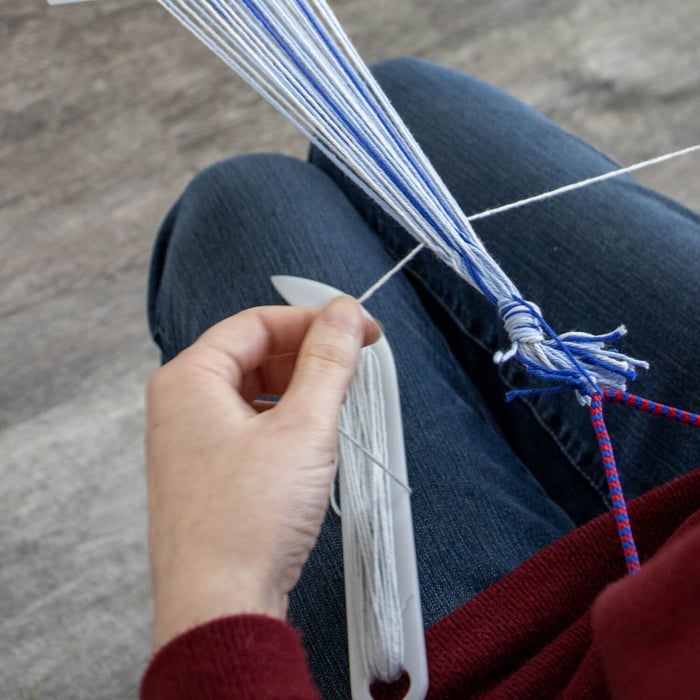
Step 4: Wind your Gehpa shuttle with the yarn you're using as weft. Though this shuttle looks slightly intimidating, winding yarn onto it is easy once you get into the rhythm of going bottom to up and around the small inner tip within the shuttle.
Step 5: Attach one end to something sturdy. For example, a door handle, a railing, bedpost, etc. We attached ours to a rigid heddle loom warping peg.
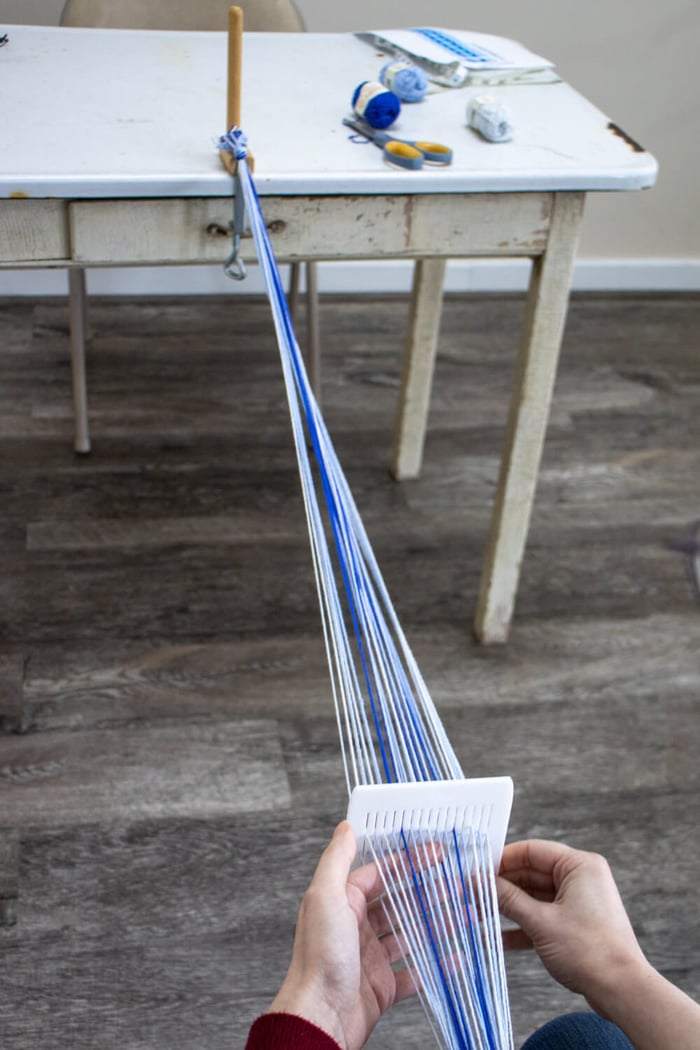
After attaching one end, you'll need to position yourself in a way that allows proper tension while you weave and then attach the other warp end to yourself with a belt or a small rope.
Step 6: Now to start weaving! Lift the heddle into the up position and pull your shuttle through without pulling your weft yarn all the way through.
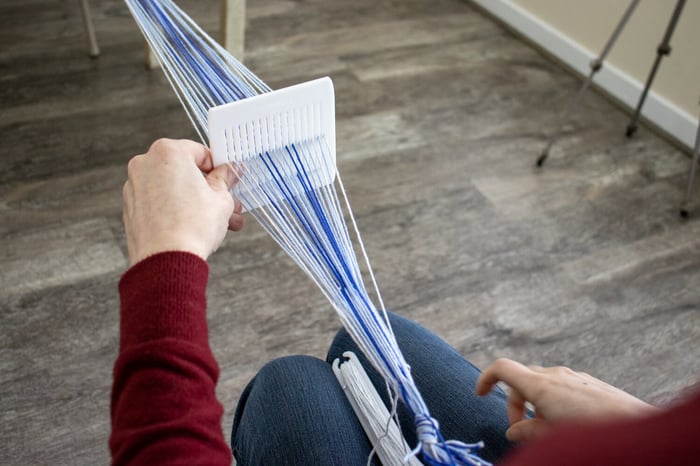
Next, you'll pull the heddle down, and insert the shuttle through the shed, bringing the shuttle down to beat the pick into place, before pulling the rest of the weft through.
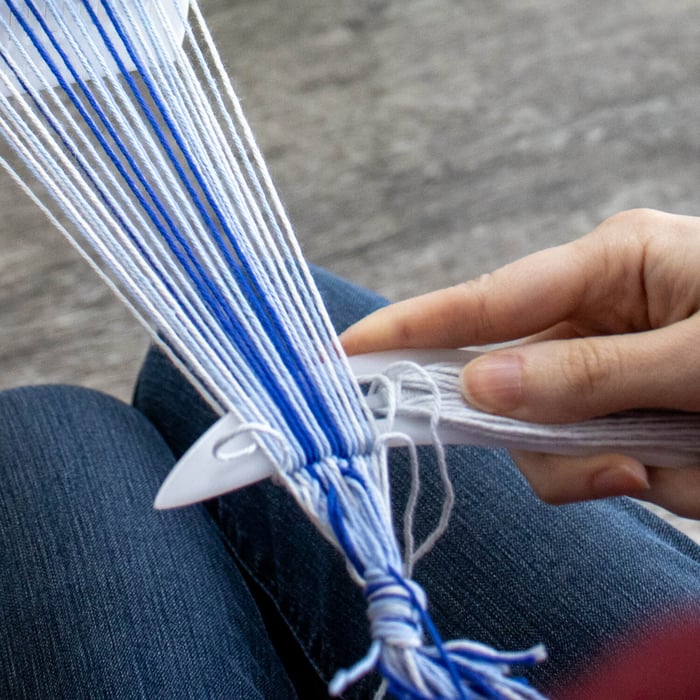
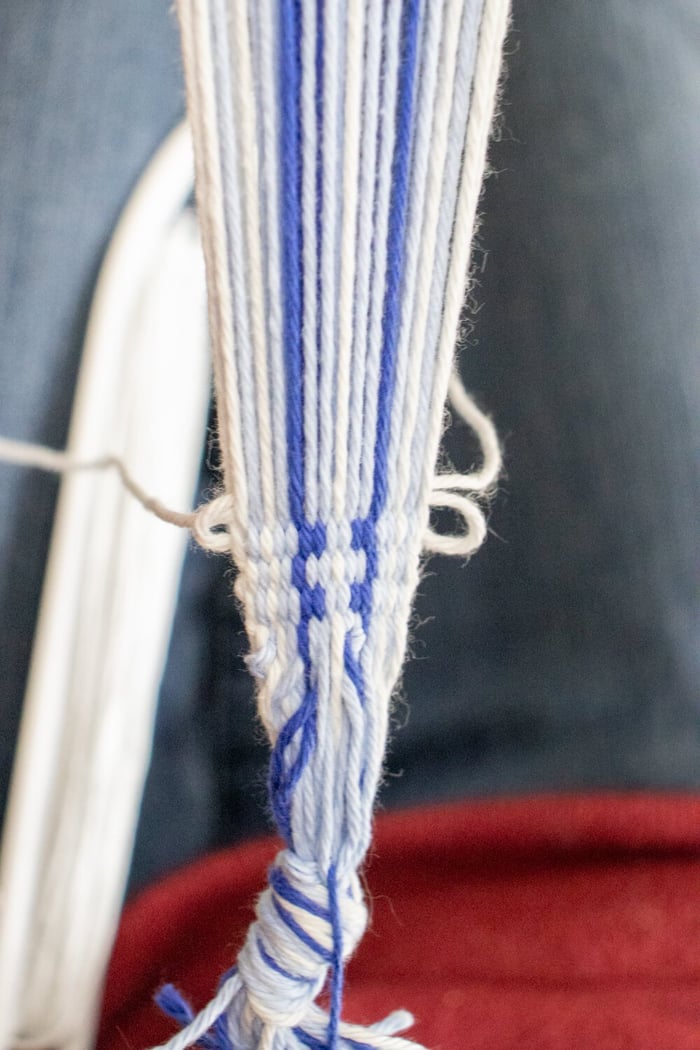
Lift the heddle, insert your shuttle, bring it down to beat, and repeat! After a few passes, the pattern will start to become visible. As your band grows in length, use the provided clip to help maintain tension.
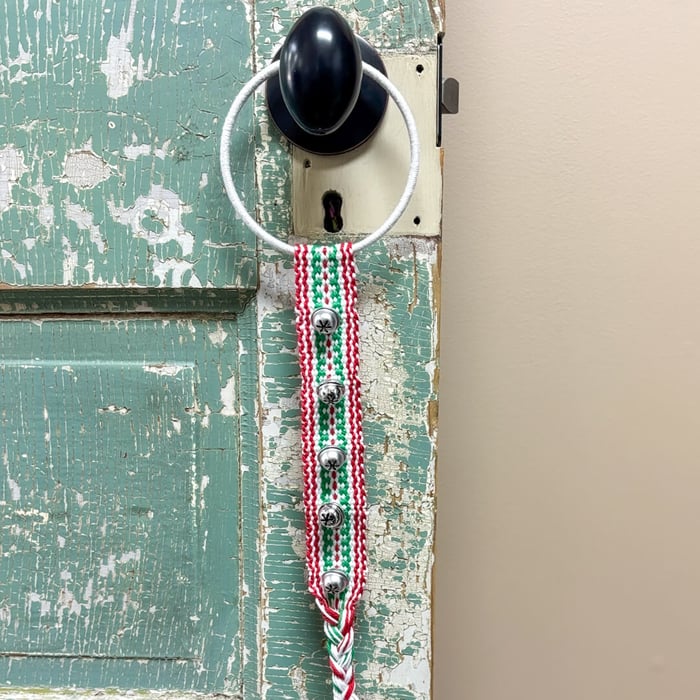
Project Idea: Door Hanger
Now, you're probably wondering, "What in the world do I do with this once I finish?" Well, good news! I have a few ideas.
I myself am a big fan of holiday and seasonal door hangers and it was the first thing that came to mind when we finished our shop sample band weaving kit.
You will need:
- A 4 inch macrame hoop
- A pack of craft bells (.5 inch or bigger)
- A piece of sewing thread
- Craft glue (Like Elmer's)
- A hot glue gun
- A sewing needle
- Scissors or snips
Step 1: Wrap your macrame hoop with left over weft yarn or yarn of your choosing. I followed this tutorial: https://youtu.be/sui69wTjhII?si=FelbdfawV06WKEhu
Tip: As long as you secure your yarn with a knot, you can skip gluing it because at the end you will wrap the band around that spot and hot glue it.
Step 2. Measure and determine how long you would like your door hanger to be. I measured mine to about 8 inches of woven material and I'm using the end of the band so I have some fringe to work with. (If you don't want fringe, you'll need to seal both ends that you cut.)
Step 3: Mark the band on where you plan to cut it. Before you cut the band, you need to secure it so it doesn't start unravelling.
Thread a needle with sewing thread. Put a dab of craft glue on the end of the thread as wide as the band. Now, insert that needle in between the warp layers, one or two rows under where you plan to cut the band.
Pull that thread through so the thread is sandwiched between the two layers and press together. I left a little bit of the thread out on one end, so I could trim it later.
After waiting for the glue to dry, now you cut your band and seal the cut edge with some craft glue.
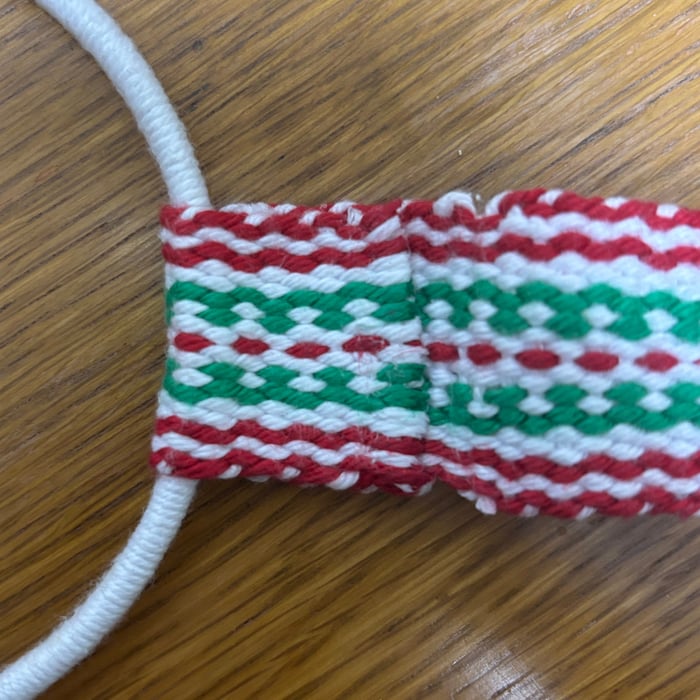
Step 4: Once the band edge is dried, plug in your hot glue gun. When it's warmed up, carefully fold about a inch of the top of the band over the macrame hoop where the securing knot is and hot glue the band onto itself, effectively securing it onto the ring.
Step 5: Add the bells! I tried to space out my bells evenly down the woven length of the band. This meant putting a bell every 6th red space down the middle, but you truly can do whatever you like or whatever looks good to you. I used some white yarn similar to the weft to sew the bells on with a small darning needle.
There is a great tutorial by Inkled Pink on how to do this that you can find here at step 6.
Step 6: Once you've trimmed everything up after adding bells you can decide what to do with your fringe at the bottom (if you have fringe). I braided the fringe on this one and then trimmed it a bit, but again, it's up to you!
I think you could potentially tie a bow to the top of the hoop or add some faux holly if you'd like to, but I kind of like the simple look!
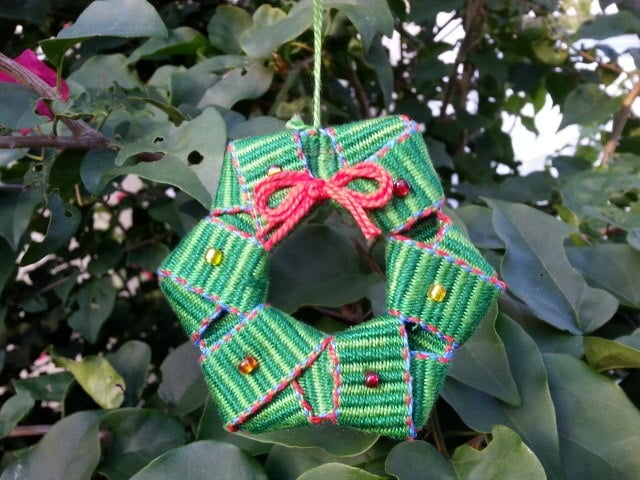
Project Idea: Wreath Ornament
In my search for inspiration on what to do with a finished band. I came across Inkled Pink's Inkle Band Ornaments and I think they're absolutely adorable! She has everything you need to know about how to fold your band in a way where the end result is a wreath. You can find all the info for there here.
Hopefully this band weaving tutorial and two project ideas are enough to keep you busy as you craft up holiday cheer this year! If you come up with something else using this band weaving kit, we'd love to see it! Be sure to tag us on Facebook or Instagram, or email us your finished bands!