Felting a Hat with a Ball
with Permission from Stephanie Allosso 
There is no knitting or crocheting involved in wet or needle felting. A few people who have visited my site have asked for patterns to knit and shrink hats. Technically speaking, that is called “fulling.” What I do is called “wet felting” or “needle felting.” Usually I do a combination of both.
Here is my process for how to make a felted wool hat hood (some people call them cones or bodies) using the "needle to wet felting" technique:
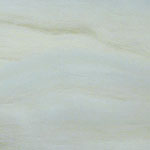
This is going to be a snug little cap for my husband. He chooses to be bald most of the time, which leaves him chilly most mornings. I want the cap to be super soft for his scalp, so I am going with a Merino/Silk blend (about 2 ounces.) 

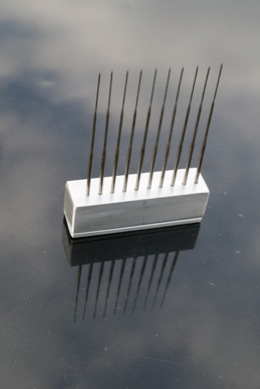
First, gently fluff out and pull apart the roving (or batting) and completely cover a needling form (at right).
I tack the fleece to the form using a needle tool. I love these tools! My husband saw me stabbing fleece on a form one day and could easily see why I like it so much! It definitely provides an outlet-- creative or otherwise…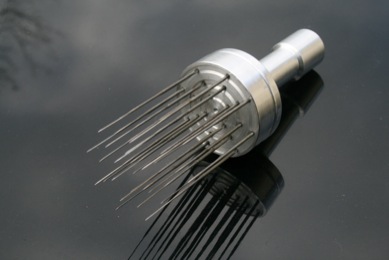

Once the first layer is done, I apply a second layer of fleece in the opposite direction.

Every layer of fleece should be going in an opposing direction to the preceding layer. This gives the fleece the best chance of felting together when friction is applied. I am using 3 layers for this project.

Then I separate the needled fleece from the form. It kind of looks like a bag when it's pulled off the form.


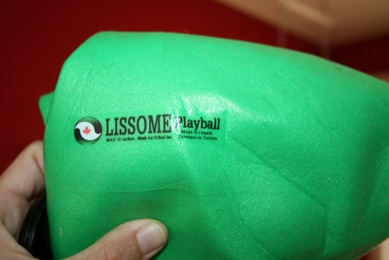
Next, I put a 12-inch inflatable ball inside the needled fleece 'bag" and inflate it.

Now it is time to grate olive oil soap and dissolve it in hot water...


The amount you use depends on the characteristics of the fleece you are felting with and your water ph.
I have found that adding a squirt of dish soap seems to speed things up (Ajax, in particular). I've had great success using only dish soap, but after a few days of serious felting, my hands were extremely chafed. I use mostly olive oil soap now.
I put the fleece-covered ball into a kitchen trash bag.


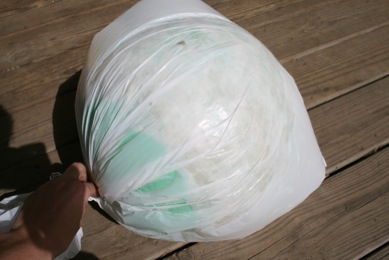
Because the three layers of fleece are needled together, I am able to pour the hot soapy water directly from the bowl onto the project without any displacement (which I would have to worry about if this was strictly a wet-felting project). I then tie up the trash bag and start felting. This is a great opportunity for family fun!


As you can see, my wet felting technique is very scientific!! Dribble, pound, rub, slap, ride like a horse, bounce on a trampoline…


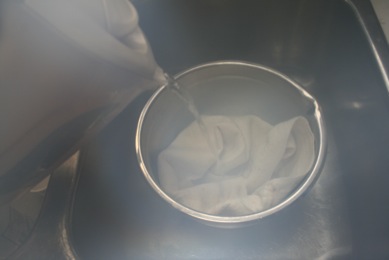
After about 30 minutes of “horse play,” the fleece is nicely felted around the ball. Deflate and remove the ball. Rinse off the felted fleece and prepare for fulling.
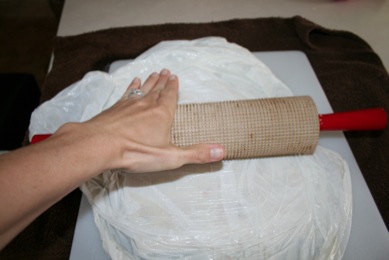

My lefse roller is the perfect tool for fulling. I fold the hat body in half and place a piece of plastic over it to prevent my roller from tearing up the fleece.


After about 15-20 minutes of rolling, I check the hat body's size. This looks too big. So I put the hat in boiling water for a few minutes and repeat the fulling process. 10 minutes of rolling, tugging and stretching and the hat body is complete!
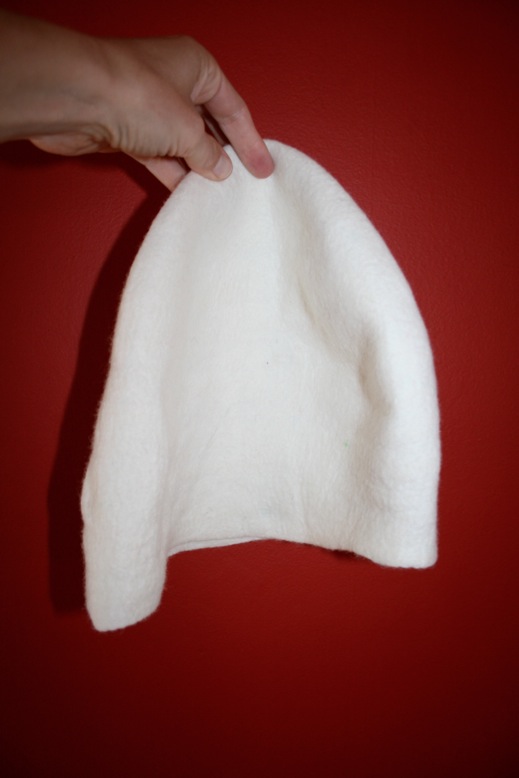
This hat body could be used to make all sorts of hats. With minimal trimming, it could be a stocking cap (which is what this one will become.) Or it could be stretched over a hat block and sized to make a very rigid hat. It cost me less than $2 to make this hat body/cone.