

You may have noticed that we have been adding a lot of products to our Punch Needle category of the past year or so. This is a newer craft to The Woolery so we thought it would be a good time to give a little primer on what Punch Needle Embroidery is and how you jump in and try it out yourself!
Amy covers what items you need to get started with punch needle embroidery in this helpful video!
Tools Needed for Punch Needle Embroidery
Punch Needle
You're definitely going to need to pick up a Punch Needle in order to get into Punch Needle Embroidery. Our absolute favorite one is the Ultra Punch Needle, it comes with 3 needle sizes in the kit. It's also an adjustable needle so you can change your pile height, because it's so customizable it's the only punch needle you would ever need!
Hoop
The fabric you're punching on needs to be held very taut in order for the punch needle process to work. We really like Morgan No-Slip Hoops because they have a groove the fabric passes through inside the hoop that really keeps it in there tight. We also suggest you get the Lap Stand style because it elevates your work off your lap so you don't accidentally punch into your leg or hand! The Morgan Lap Stand comes in both Petite 5" & 7" and Regular 7" & 10" size. These are also great because you can use either the top or bottom hoop so you get two different hoop sizes to work with.
Fabric
This causes a lot of confusion among newbie punch needlers, the fabric you need to use for punch needle embroidery is Weavers Cloth. We promise it's not a cloth for weavers, it's for punch needling, that's just its name. This cloth is very tightly woven so it will keep your punch needle loops held in nice and tight so your pieces don't unravel. If you're going to be working from a kit, then your cloth is likely going to be provided as part of the kit.
Floss
We carry two different brands of floss, DMC and Valdani. DMC is mostly going to be solid colors of floss that comes in pretty much every color imaginable. It's also a 6 strand floss, so you can pull it apart to achieve different thicknesses depending on what you're punching (the standard is 2 strands). DMC comes in skeins so it requires you to either cut a strand and punch until you run out, or prewind your thread onto a bobbin so you can continuously pull from the bobbin. Valdani is hand dyed floss that comes in both solid and variegated colors. It's a great way to add some depth to your projects. Valdani also comes in balls, which are already perfectly set up for punching because you can just continuously pull from the ball until it runs out. If you're going to work from a kit it's likely that the floss is provided in the kit!
Scissors
It's necessary to trim your threads when changing colors or strands. We really like using curved or bent scissors to get a close even cut. These Double Curved Scissors would work perfectly!
Additional Tools and Accessories
Extra Punch Needle Threaders
These long punch needle threaders are needed to thread the Ultra Punch Needle. The needle comes with a threader but they are prone to getting lost so it can be nice to have extras around.
Mighty Winder Hoop Tool
The Mighty Winder Hoop Tool is designed to help you tighten wing nuts on your embroidery hoops. Sometimes it can be hard to get a good grip because of where the wing nut is tucked against the hoop edge, this tool grips the wing nut for you so you don't have to.
Project Bag
It's a good idea to have a bag to organize all of your threads, patterns, scissors, and accessories in so you don't lose anything. We really like this DMC StitchBow Needlework Travel Bag because it has lots of pockets and a binder to store your DMC floss skeins.
Punch Needle Kits
Kits are a great entry point for punch needle embroidery. You don't have to plan out your own design and already know what the finished project will look like! Shop our wide selection of punch needle kits or check out a few of our favorites below!
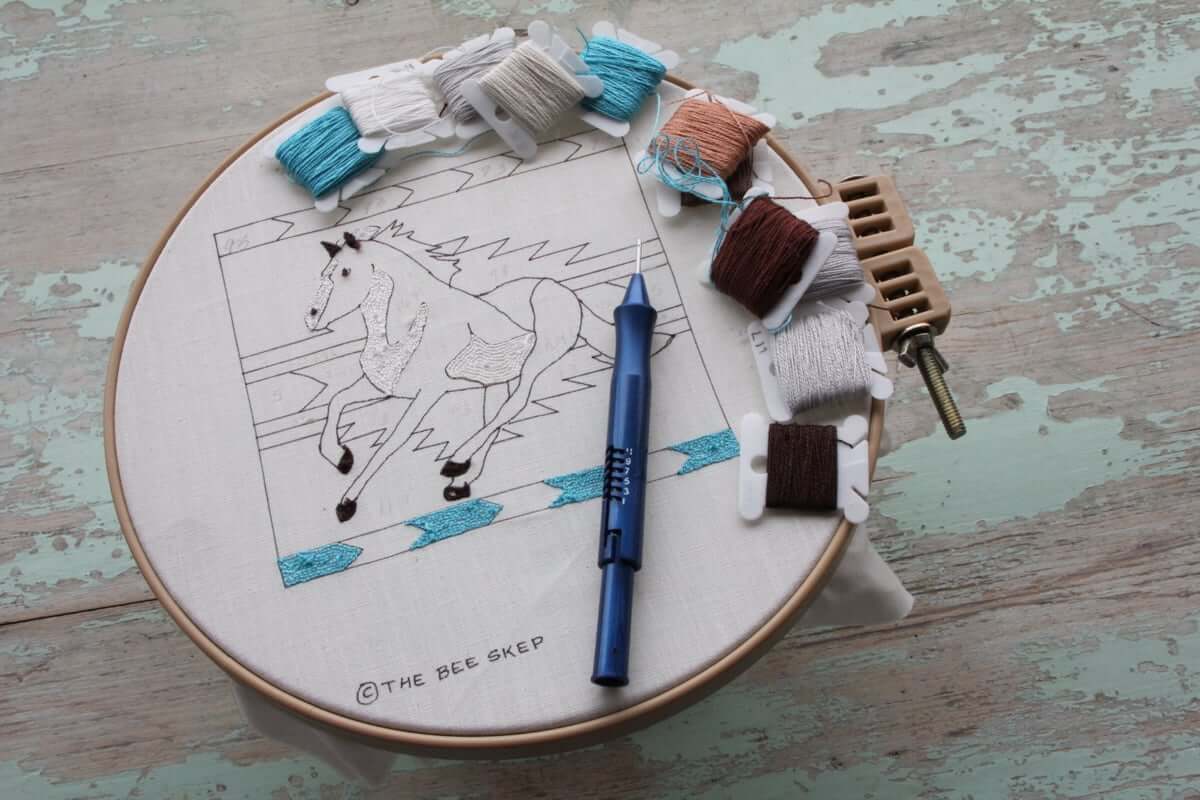
- Punch Needle Kit - Navajo Paint Horse
- Punch Needle Kit - Save The Bees
- Punch Needle Kit - Sheep
- Punch Needle Kit - Prim Hair
- Punch Needle Kit - Prickly Cactus
- Punch Needle Kit - Helping Ewe
- Punch Needle Kit - Llama
How to Thread an Ultra Punch Needle
The Ultra Punch Needle comes with an instruction booklet that explains the threading process but we have also made this video tutorial for you!
How To Do Punch Needle Embroidery
In this video Amy demonstrates the basics of punch needle embroidery. She shows how to keep your stitches even and tidy. She also shares some of her own tips for keeping track of your colors.
How to Display Finished Punch Needle Projects
Finished punch needle projects are easy to display in a frame on a wall. We have added these reclaimed barn wood frames to the shop that are perfect for displaying a lot of the farm themed punch needle kits we carry. They come in a variety of sizes so there should be one that will fit your project!

Finished punch needle embroidery projects also look great mounted to pieces of wood. Amy attached the below finished Prim Hare (which is available as a kit {Punch Needle Kit Prim Hare.html}) to this bit of moulding and put a hook on the back.
![]()
Amy covers her process for preparing finished punch needle projects to be displayed in this video.
Rug Punch vs Punch Needle Embroidery
We carry a few different type of punch needles here at The Woolery. We distinguish between the two by the size of material you punch with. The larger Oxford Needle style of punching with large yarn and fabric strips we call, "Rug Punch" and this smaller Ultra Punch Needle style of punching with thread and embroidery floss, "Punch Needle Embroidery". The concept between the two crafts is the same, but you use different material for punching and backing fabric for each one. We cover this difference in the video below.
We hope this was helpful and that we have converted you into a new punch needle embroidery artist! Visit our Punch Needle Category to shop all of our punch needle tools, kits, and accessories!
