
If you knit socks you're going to need to learn how to darn your socks. It is a fact in the life of a sock knitter. You put all of that time and energy into making your beautiful socks, are you really going to throw them away just because of a little hole? No, of course not. We are going to cover 3 different methods for darning; Woven Patch, Duplicate Stitch, and Knitted on Patch. They all have different strengths and weaknesses, and honestly, it's not a bad idea to learn all 3 of them. Darning will prolong the life of your handknit socks significantly, so let's get to it!
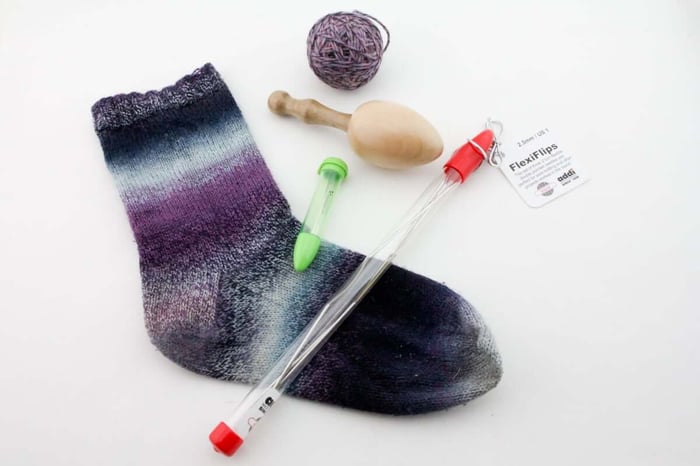
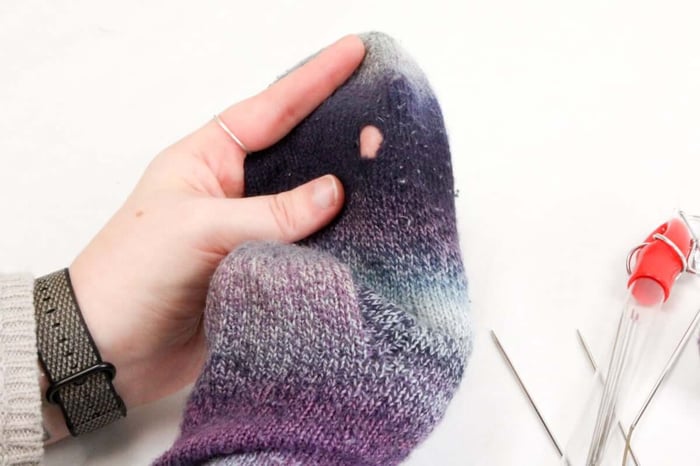
You do need a few things in order to repair your sock:
- A sock with a hole
- Scrap yarn (it doesn't have to be the same color if you don't have it anymore, pick something that complements the sock but still pops!)
- A darning needle, we're using the Chibi Darning Needle Set.
- Double point knitting needles (only needed for the Knitted on Patch method), we used Addi FlexiFlips
- Darning egg or mushroom (a lightbulb will also work in a pinch!)
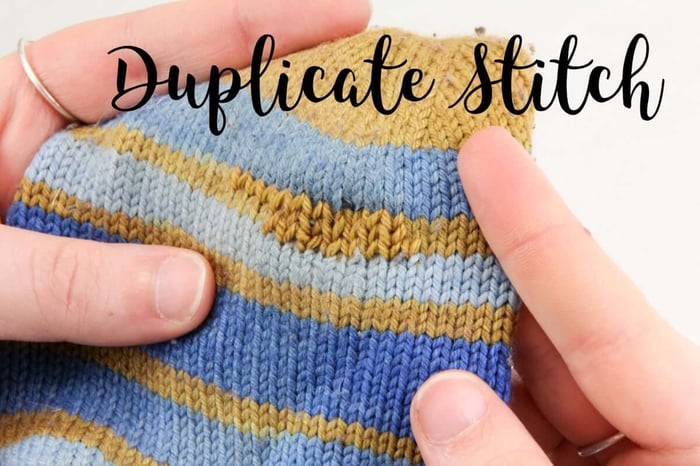
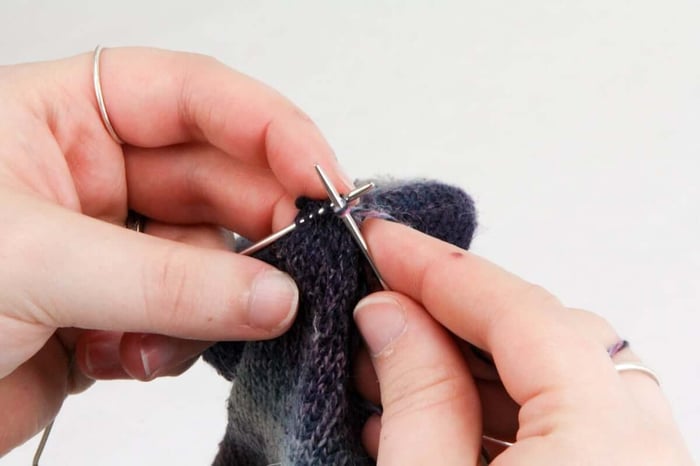
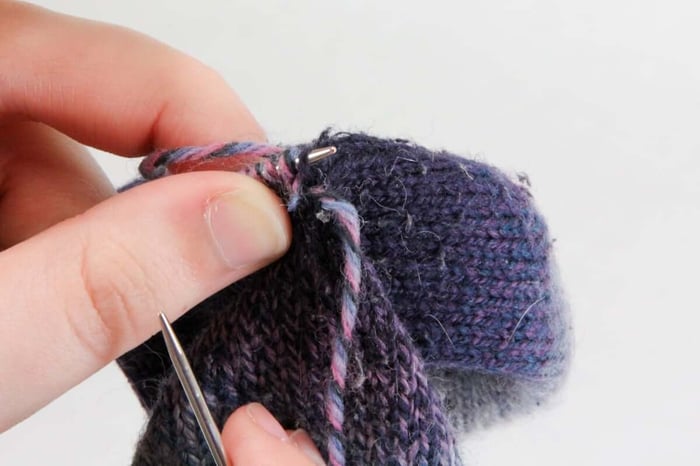
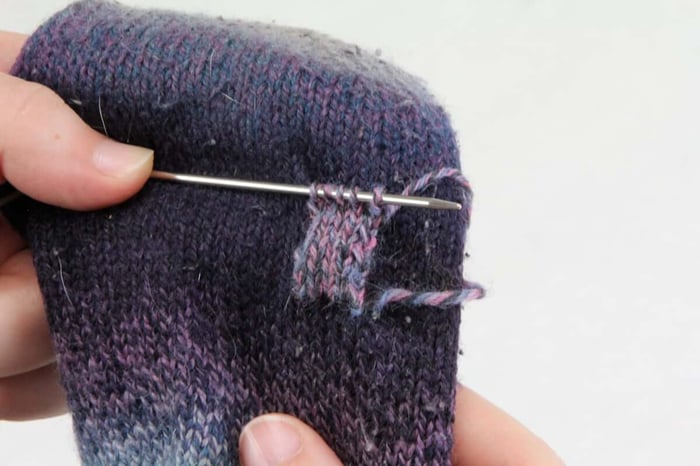
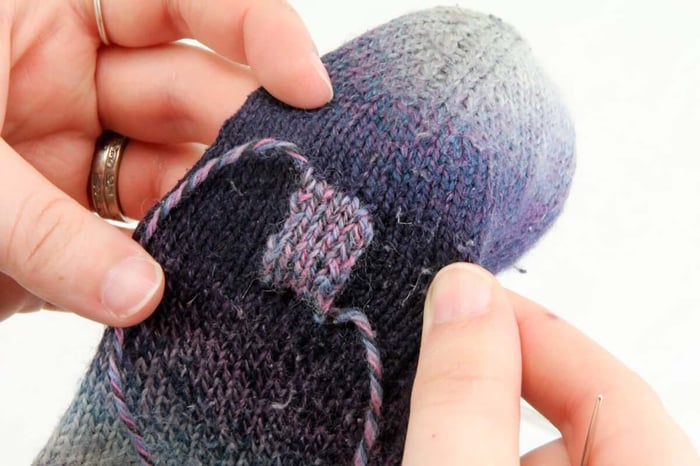
Duplicate stitch is going over your knit stitches with another piece of yarn using a darning needle. This method is really only going to work for very small holes or worn spots that are imminently about to become a hole but have not yet totally broken to form a hole. If you weave in your ends on your socks using duplicate stitch on the right side of the sock, then its the same process for reinforcing the hole.
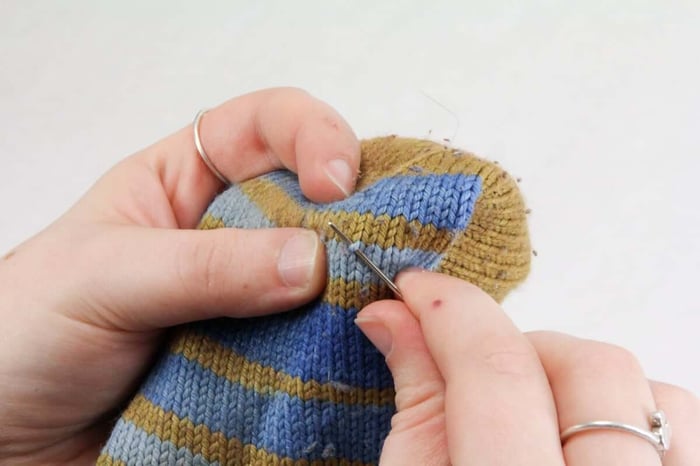
1. Using your darning needle and around 10-12 inches of yarn, we're going to begin our duplicate stitch around 1 inch away from the spot we are reinforcing. Poke your darning needle in and under the right side of one your "V"s of knit stitches and bring it back up through the middle of the "V".
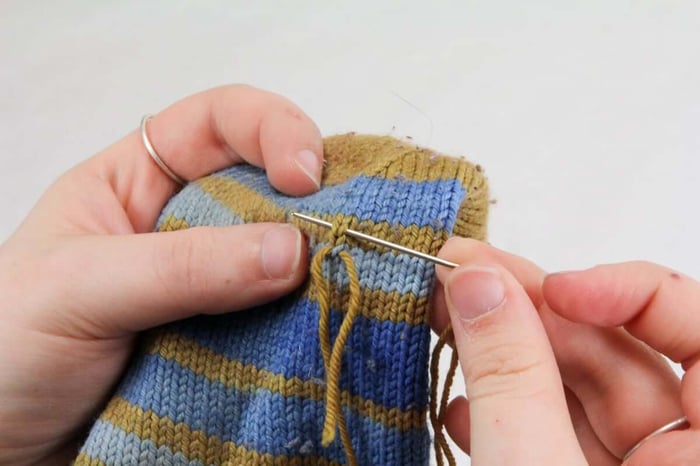
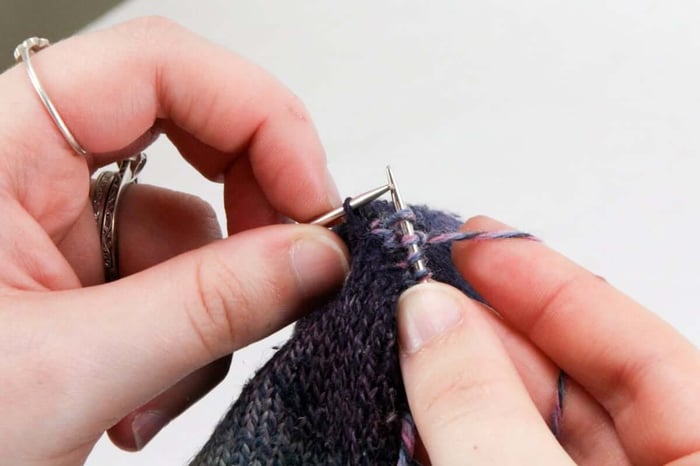
2. We are going to duplicate the "V" immediately above the one our yarn just came up through the middle of by taking our darning needle under both legs of the "V" that is two above where we entered. Pull the yarn end tight but not too tight.
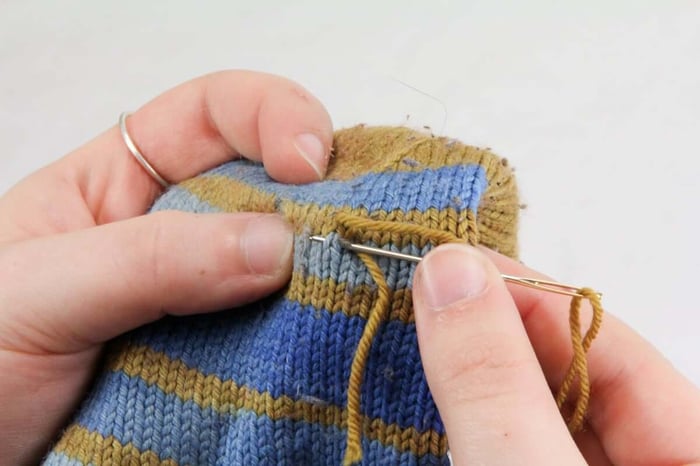
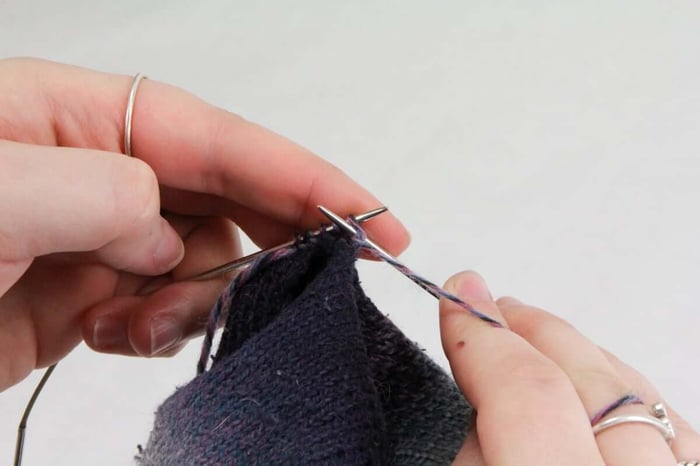
3. Now you're going to enter the middle of that original "V" and come back up the middle of the "V" to the left of that stitch.
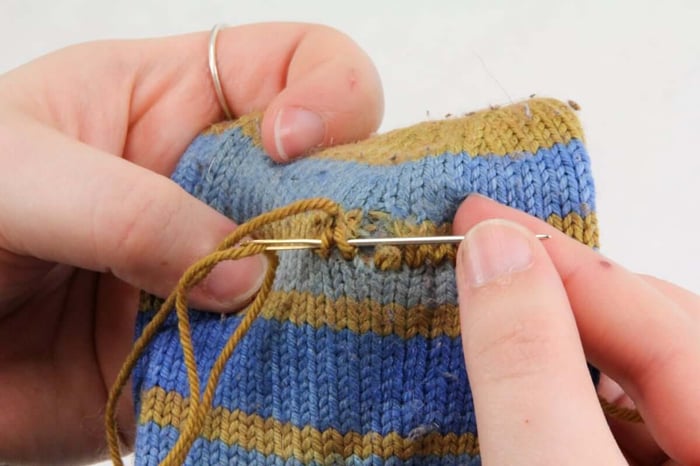
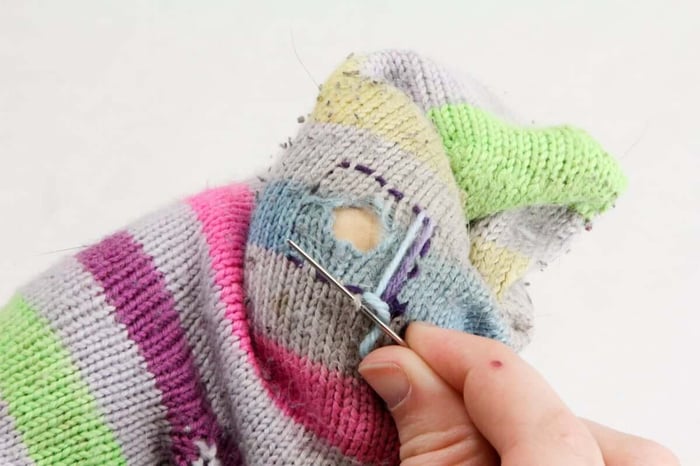
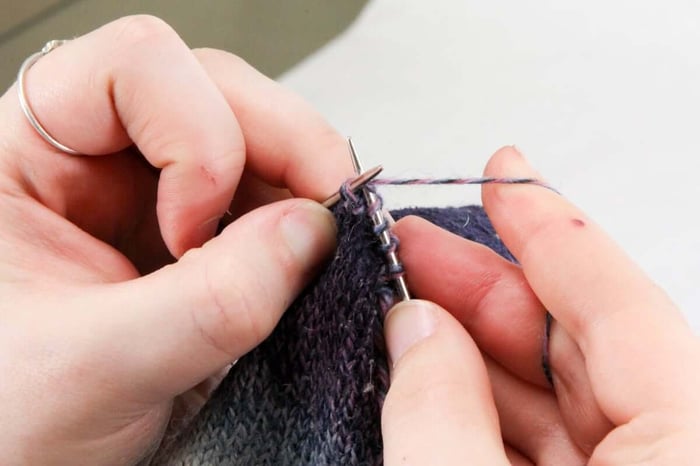
Keep repeating steps 2-3 across the entire weak bit of your sock. You can skip to another row of V's if you need to work across multiple rows by just going up to a higher "V" after you complete a row. If you're having a hard time matching the tension of your knitting, just pop the darning egg inside the sock to help!
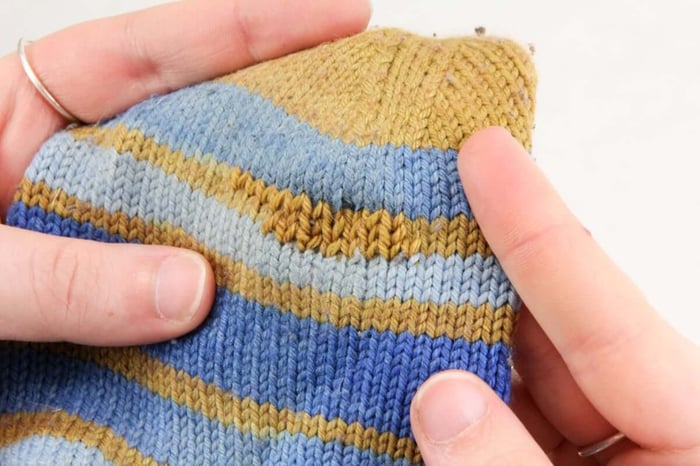
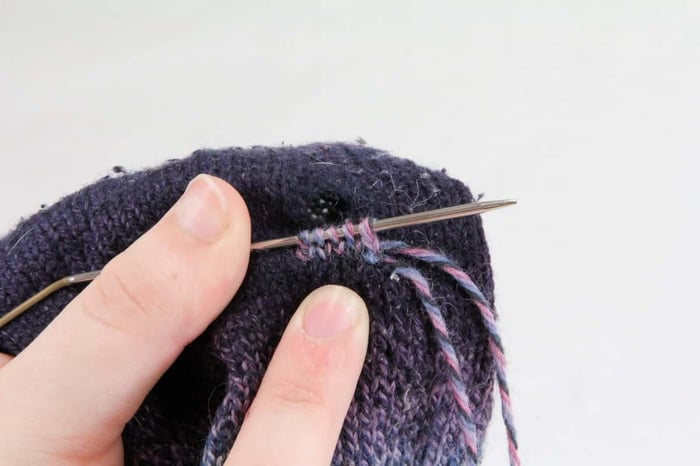
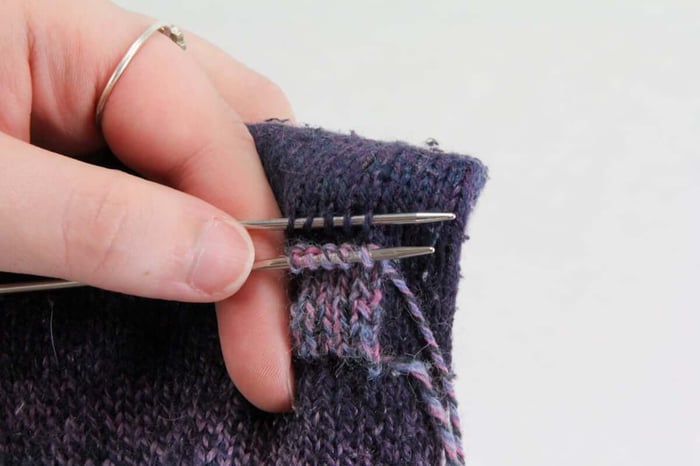
As you can see, this is a pretty invisible method of darning if you use the original color of the socks. So if you catch holes in your socks before they form and reinforce them you'll be in a good spot if you don't like the look of more substantial patches.

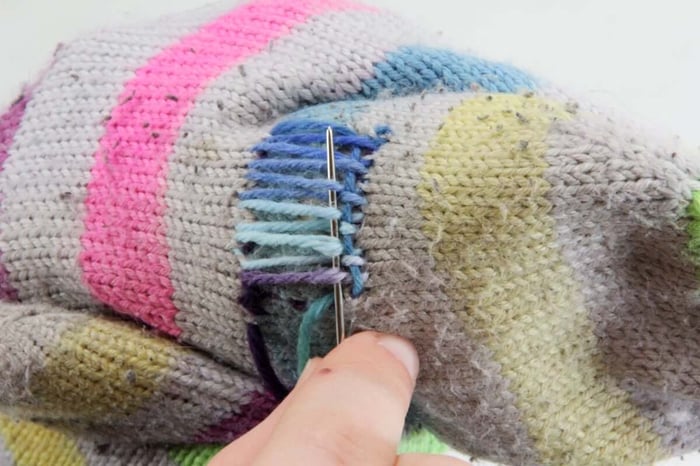
The Woven Patch is probably the most commonly known method of darning socks. The Woven Patch is going to work well for larger holes that have formed in your sock. A potential downside of the method is that weaving looks substantially different than knitting, so your patch will be noticeable. We like to use a complimentary but different yarn for these patches for this reason.
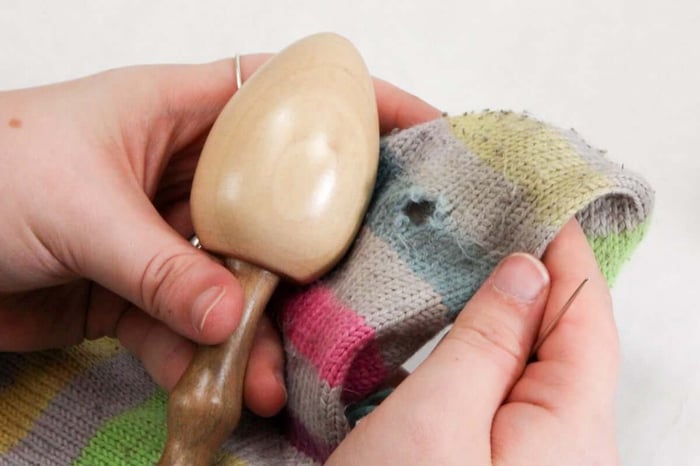
You will definitely need to use the darning egg with this method because weaving is not stretchy like knitting. If you make the patch without the darning egg, your socks will not fit like they used to! 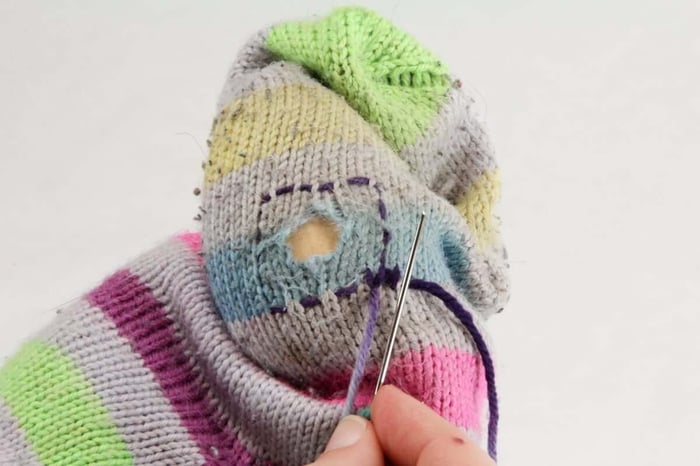
Using the yarn you are going to use for the patch and a darning needle, run a basting stitch around your hole, forming a square. Yo want your basting stitch to be a few stitches away from the hole. This is to both secure the patch and reinforce the stitches that haven't worn away yet.
Create a warp for your patch by anchoring the yarn under legs of stitches, then running the yarn across your square.
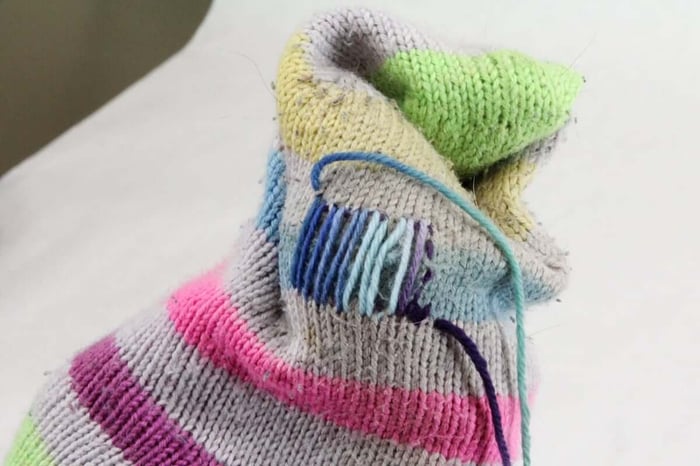
Do this across the entire width of your basted square.
Going perpendicular to your warp, weave your weft by going over and under each warp thread. you will want to tack the weft down by going in and out of a stitch in-between each weft pass. This will secure the patch and keep your weaving from being too tight.
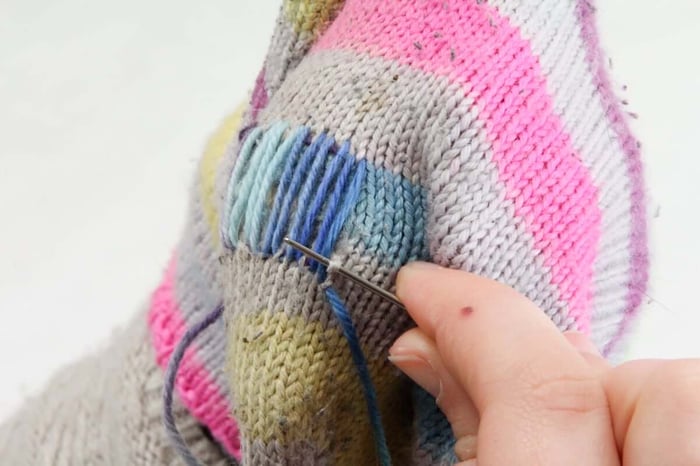
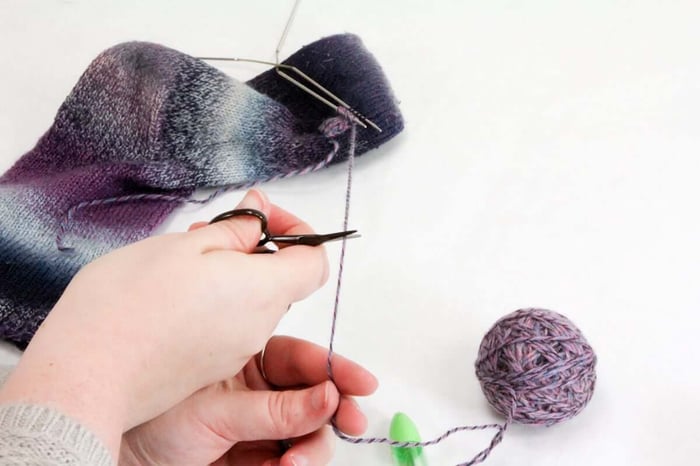
Once you have run out of warp to weave under, just weave in your ends like you would normally and you're all done!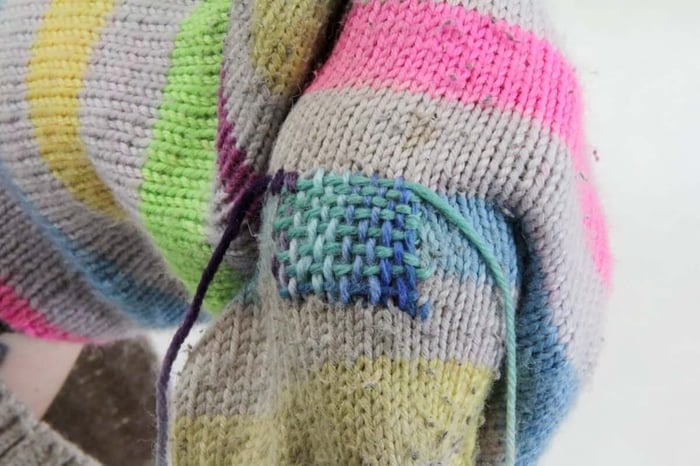

A successfully patched sock! You can see in this photo how much the woven area contracts once the darning egg has been removed, always use a darning egg with this method.
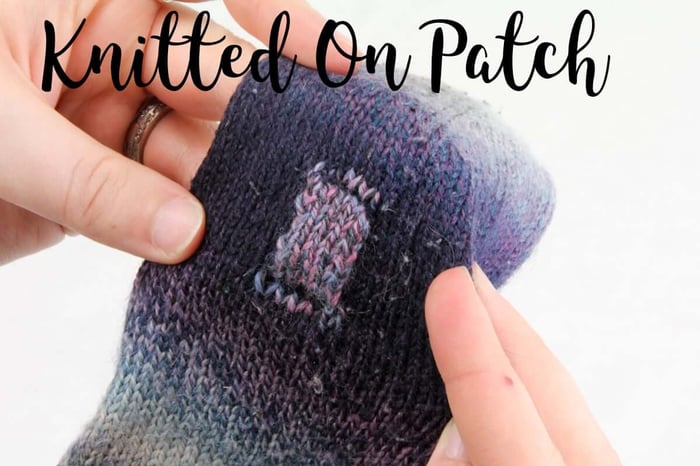
This is actually our favorite method for darning socks. The Knitted On Patch can be used for both large and small holes. It also best mimics the original fabric of the sock so it's going to fit the best and wear the same as the rest of the sock over time.

1. About, 3-4 stitches under your hole, insert one fo your needles in the the right leg of each of the stitches that span your hole's width and about 1-2 stitches on either side of the hole. We are now going to be knitting the patch flat from these stitches

2. Knit these stitches.
3. Turn your work, purl across.
 4. Turn your work, you now have a nice little neat row of stockinette stitches.
5. It is important that you keep the working yarn to the back of your work at the beginning of each knit row you work from now on.

6. We are now going to be tacking our patch to the sock by picking up stitches on either side of the patch. With the working yarn at the back, pick up the right leg of a stitch that is about 2 stitches above the original line of stitches you picked up. Place it onto the left hand needle.

7. Knit two together with the stitch you just picked up and the first stitch on the left hand needle.

8. Knit across the rest of the stitches until you have 1 stitch remaining.
9. Pick up a stitch 2 above your original row of stitches, this time to the left of your work. Slip the last stitch on the right hand needle to the left hand needle with the picked up stitch.
10. Work SSK with the picked up stitch and the last stitch of the row. Turn your work and purl across the entire row. 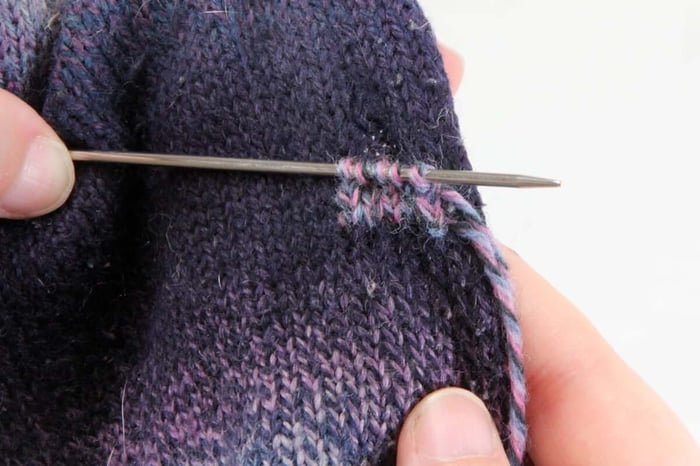
Your patch is beginning to form! Continue to work Steps 5-10 until your patch is about 2 stitches above the height of your hole.
You should not be able to see your hole at all anymore because your patch is big enough to cover it.
Pick up the right leg of each stitch aligned with your patch about 2 stitches up from where the stitches on your needle stop. Make sure they are aligned, we are going to Kitchener stitch them together.
Cut your working yarn leaving about a 9" tail. 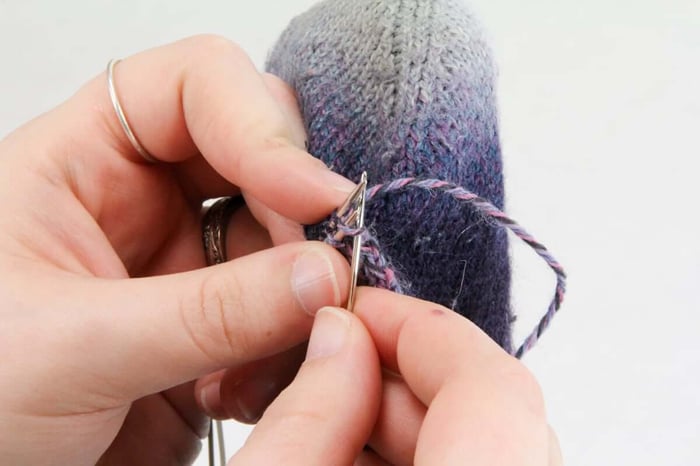
Perform the Kitchener stitch just like you would graft a toe on a top down sock closed and your patch is done! All that is left to do is weave in the ends.
We really like this method because it is the same fabric as the sock, so it's going to fit your foot well. It will also wear similarly to the rest of the sock over time. If you think your patch sticks out a bit or can feel it on your foot, just give it a couple times of wear and soon your patch will be smooshed down with the rest of your well worn sock.
