
Now that I have all the yarn picked out and ready to go for my tapestry wall hanging that I'm making for my grandmother, it's time to plan how I'm going to weave that yarn up! Before I just slap the yarn on the loom I want to have a plan. It's a big project and I don't want to get going and decide I don't like how it's turning out. This is where sampling the yarn is useful.
Our own Weaver Nancy suggested that I make a sample (or as I called it in my knitter vernacular, swatch) so I could decide what I want my sett to be. So I grabbed a couple small tapestry looms and got to work! I wove one little sample (just about 2x2") on a Made Kits Small Tapestry Weaving Loom. This is as 6 dent per inch handloom so this sample has 6 ends per inch warp. My second sample was done on a Purl & Loop Minute Weaver, which has 4 dents per inch. This means this second sample has a 4 ends per inch warp. I used the exact same yarns for these samples so I could tell how each of them looked with the different warp spacing. After these were done I pinned them up on my cubicle wall so I could consider them over a week or so and decide which one I liked best.
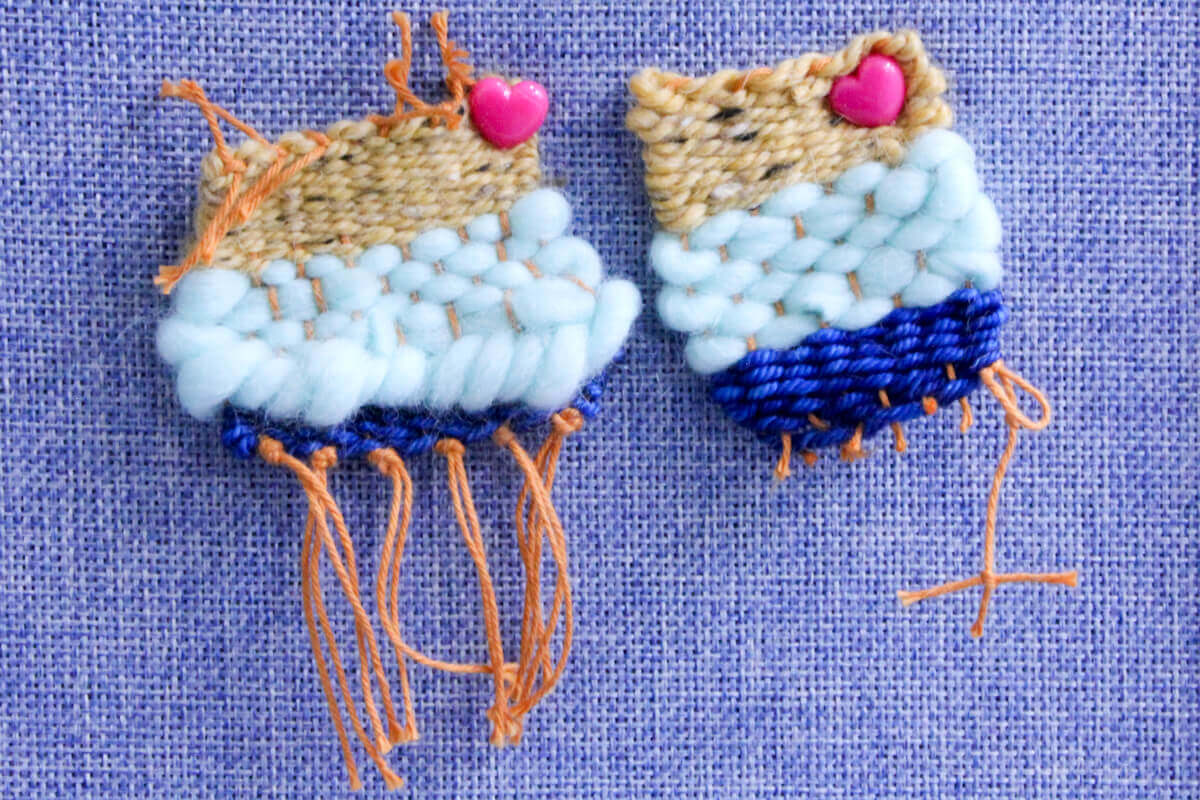
As you can see these were just quick and dirty samples, I didn't worry about securing my warp ends or making them pretty. The one on the left is the 6 ends per inch sample and the one on the right is the 4 ends per inch sample. After looking at these I decided that I liked the 4 ends per inch (the right one in the photo above better). My reasoning is that I'm using a lot of bulky yarn and even roving because I want lots of texture and I felt like the bulky yarn on the left sample got too strangled in the closer warp. With my end per inch determined, it was time to do something that scares both weavers and knitters: sketching!
Hear me out; you don't have to be an amazing artist for sketching to be beneficial for your projects. Just the act of getting your ideas down on paper is very helpful for planning a project. For my sketch I wanted to determine my color placement, if I wanted to try and do a gradient style or if I wanted to have all of the colors randomly placed all over the place. So I drew up my 3 rectangles to represent my tapestries and did some coloring! I made my sketches on my iPad pro, but you don't have to have fancy technology to do this, there's no reason you can't go to town with some colored pencils, markers, or crayons on your own!
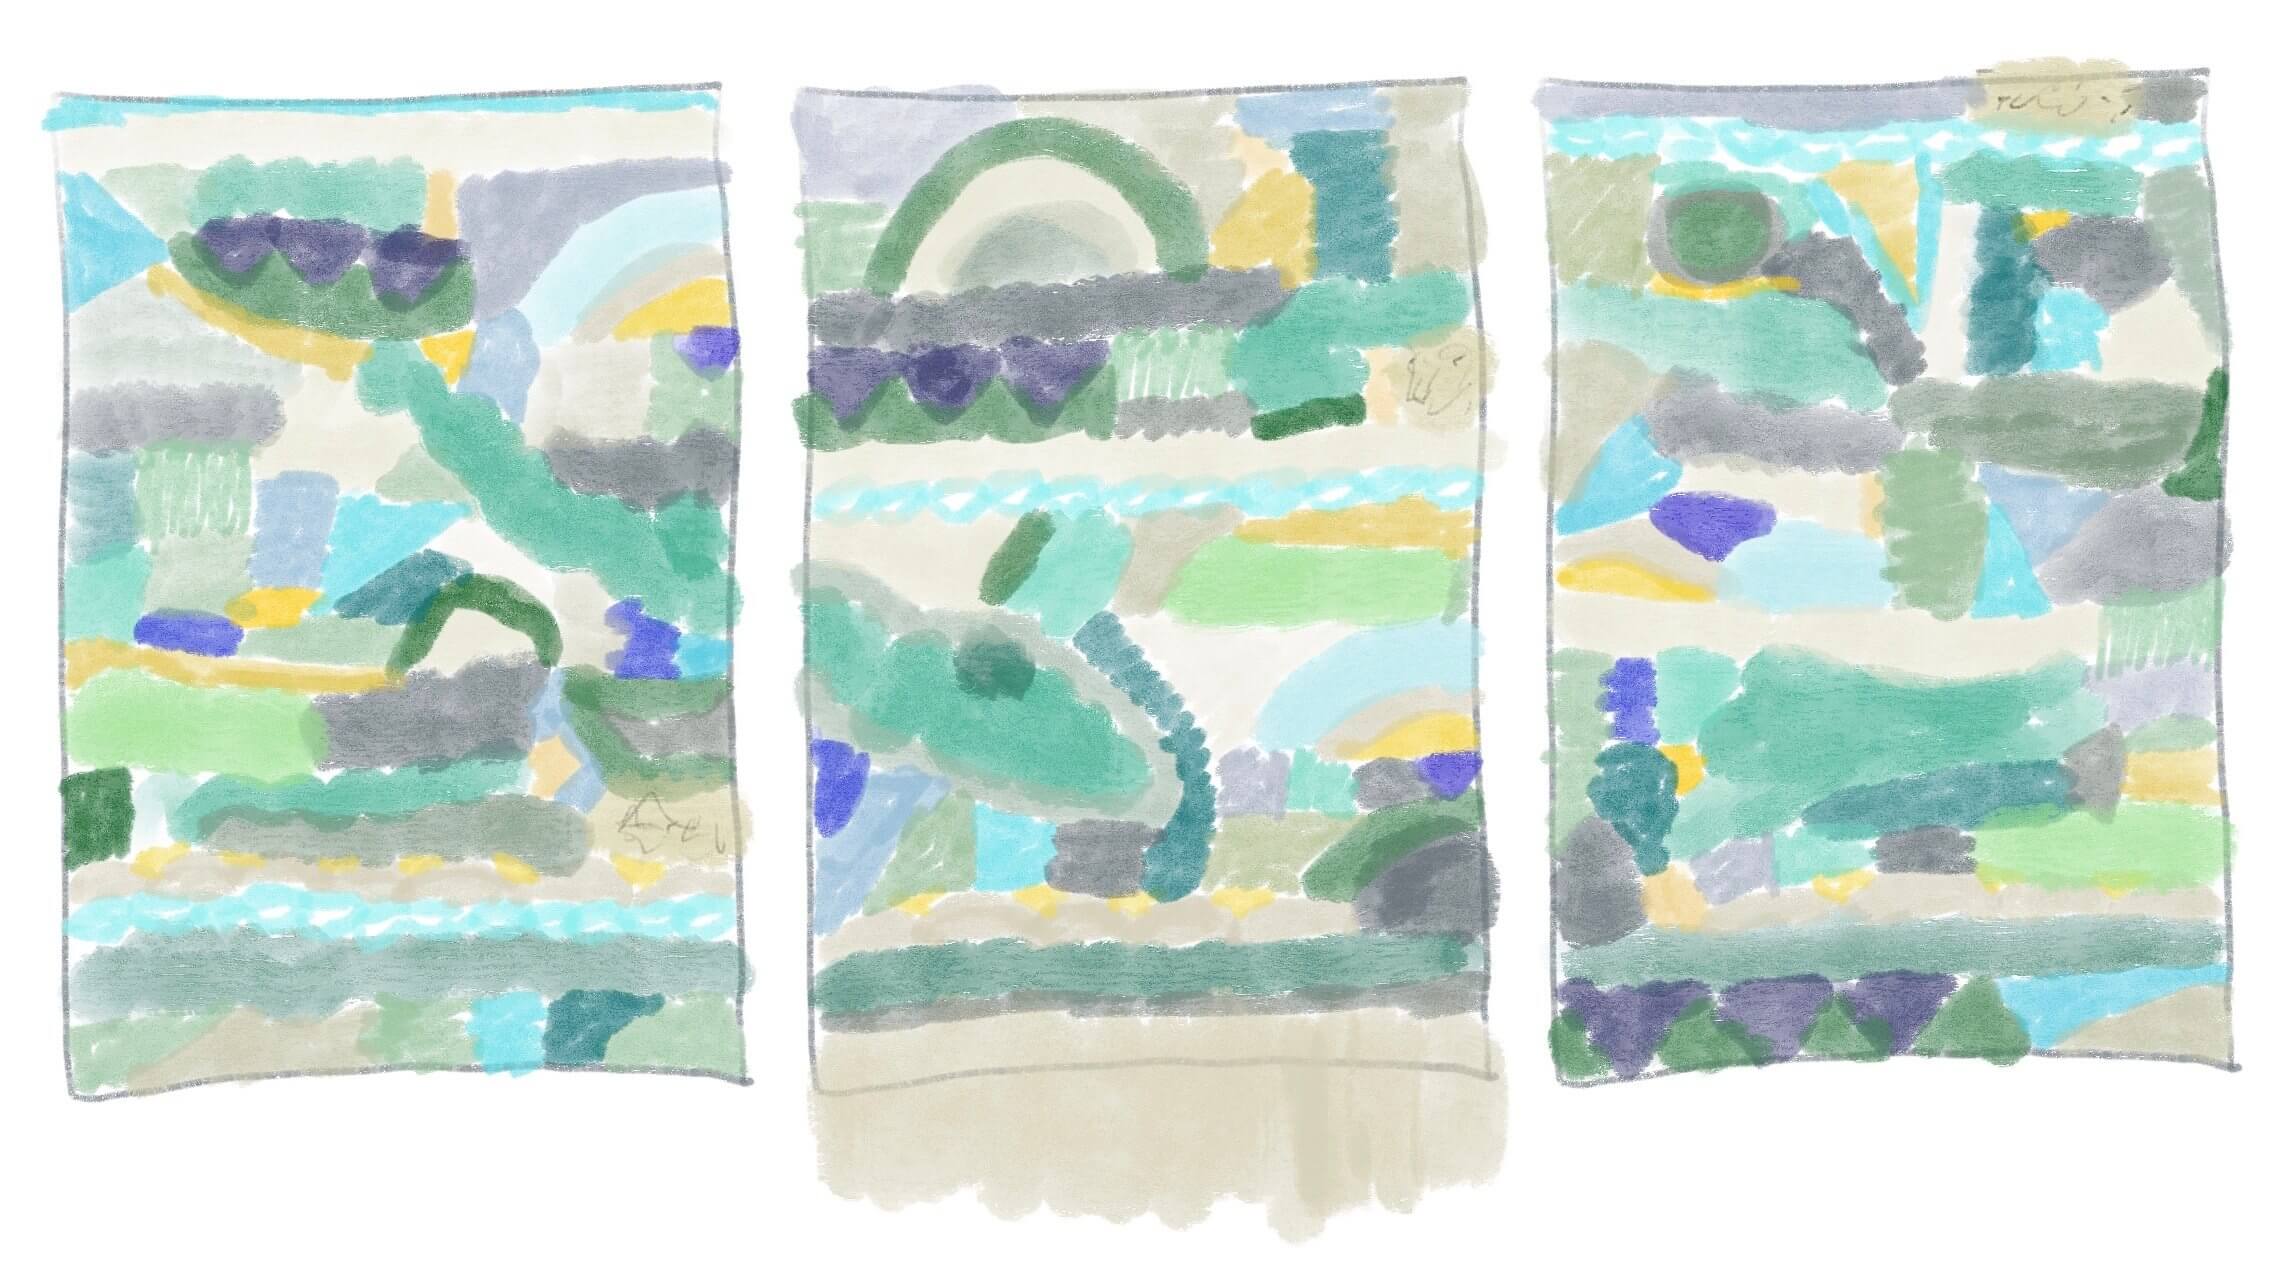
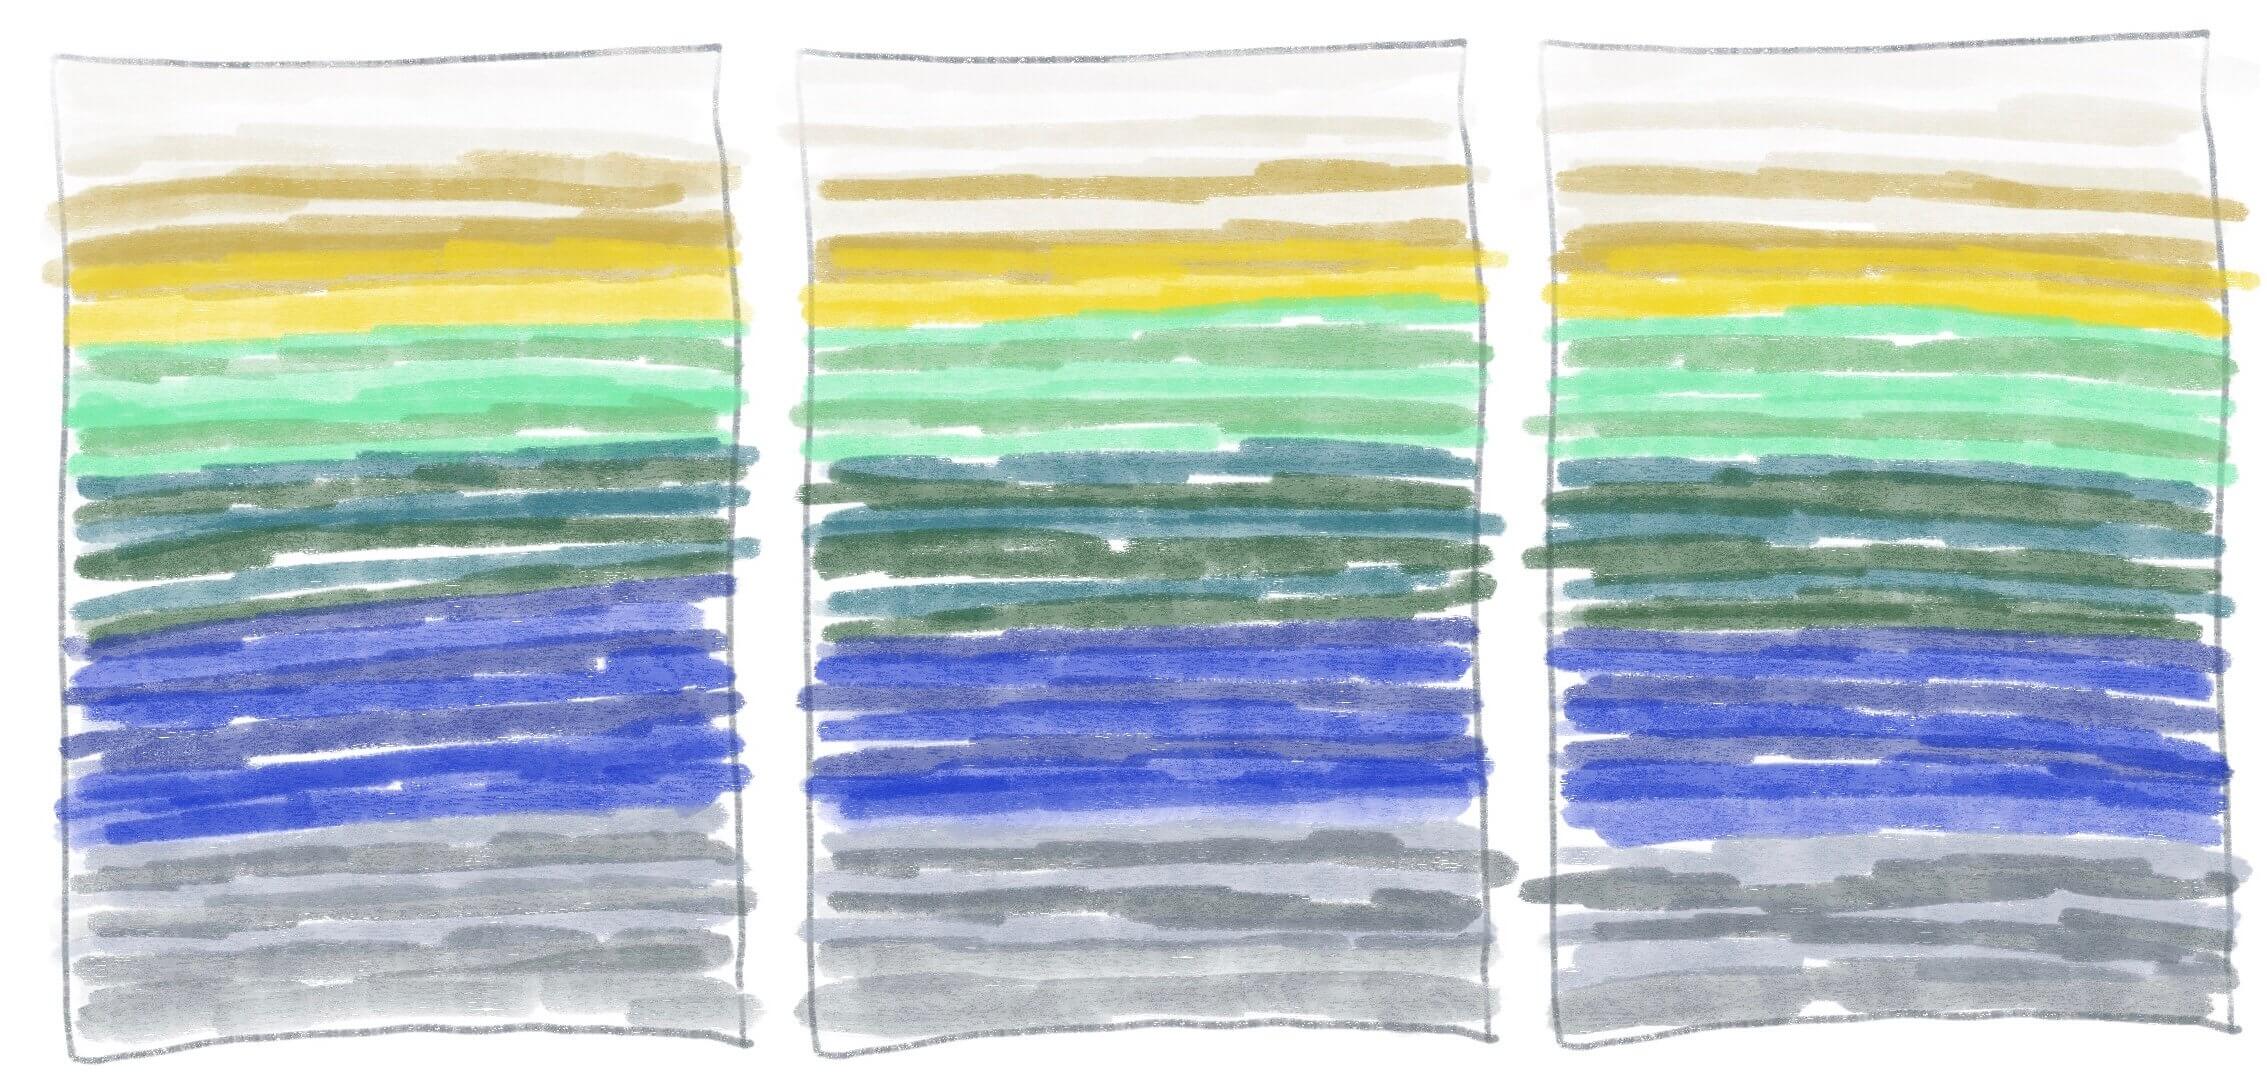
Based on this I decided to go with the top more random color placement option. I like the gradient a lot but I think it only works because I drew the color changes evenly and I'm not sure I have the right distribution of color in my yarn to make the changes evenly. I am also concerned about running out of a certain color and then having the 3rd tapestry I make look uneven and wrong. I'll have a lot more options to just play and have fun going with the more random color placement choice.
Since I've planned my warp and my weft color placement, it's time to actually warp up the loom! I'm going to be weaving on the 22" Mirrix Zach Loom. I chose to use this loom because of it's nice wide weaving with, and it has the ability for me to choose my sett by switching out the different warp coils. I am using the 8 dent coil and just skipping every other space to achieve 4 ends per inch. I didn't really measure my warp length and just made it super long because I'm not sure how long I want these to be and I don't really need to decide right now since I'm using the Mirrix Zach and can advance my warp. My warp yarn is Maysville 8/4 Cotton Rug Warp Yarn in Ivory.
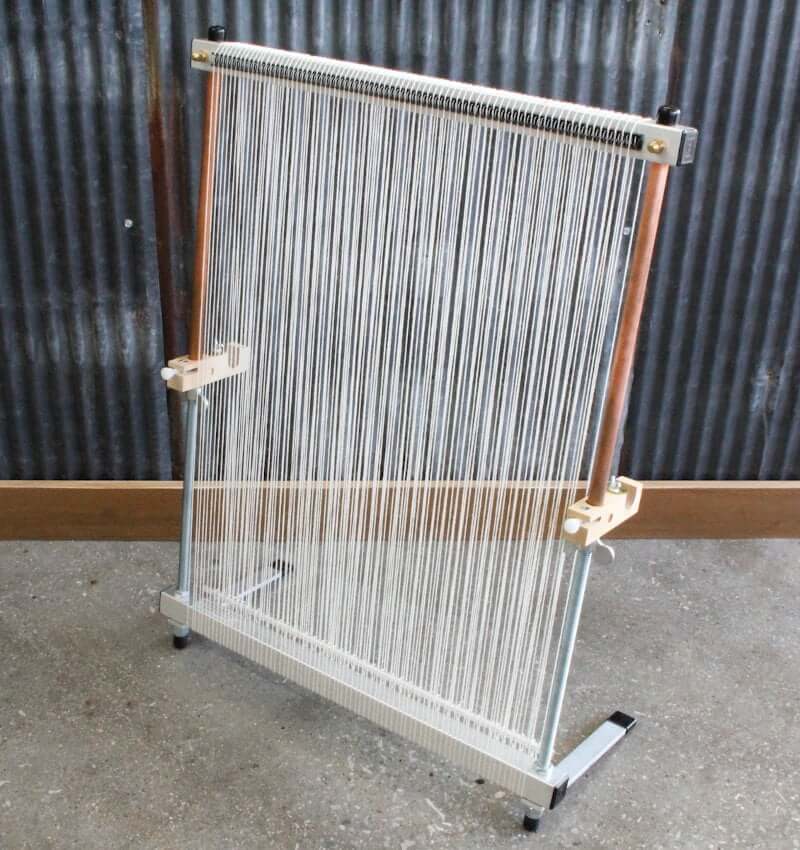
How exciting is it to have that nice fresh, shiny, and new warp all ready to go? My next steps are going to be twining and then actually getting going with weaving. I'm hoping to share some fun texture techniques with you like soumak, rya, bubbles and more, so keep watching this space!
