I can't think of a better way to relieve holiday stress than by stabbing something repeatedly; bonus points if it creates something cute in the process. I am very much a beginner when it comes to needle felting, so rest assured, if I can do this, you can too. Here's how to needle felt some cute ornaments using cookie cutters!
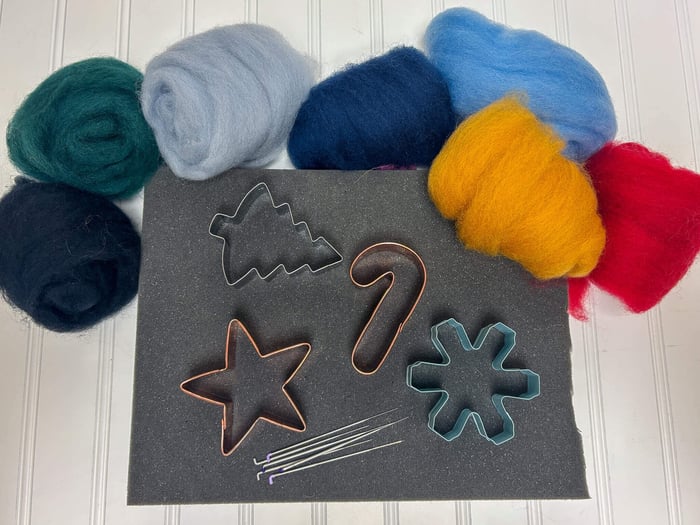
Here's what you need to get started:
- Felting Needles - I used a combo of 38-gauge triangle point (all-purpose) and 40-gauge triangle point for finer details around the edges (This variety pack is also great)
- Wool - I used the Ashford Corriedale Wool Felting Pack in Christmas, but Kromski has some great felting packs as well.
- Cookie cutters of your choosing
- A felting mat
- Scrap Twine or yarn
- Finger guards
Step 1:
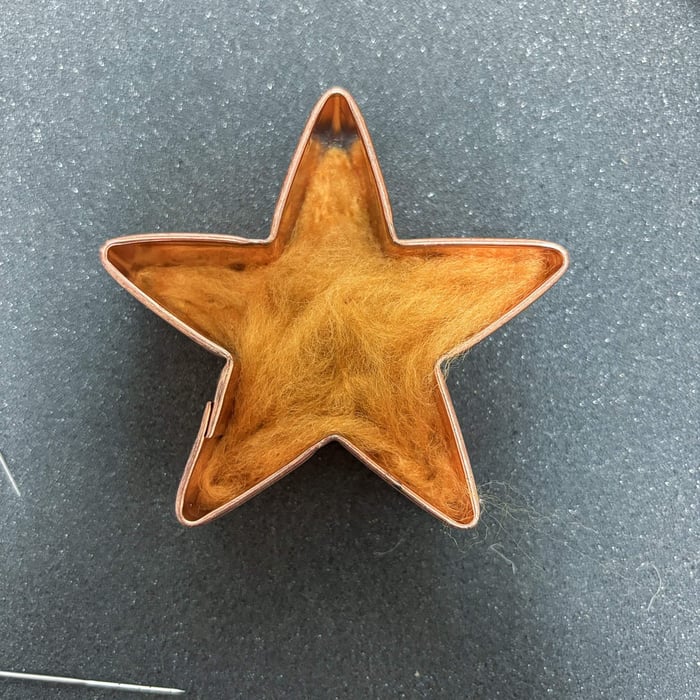
Fill your cookie cutter with wool. I did learn that the more wool you use, the sturdier your final ornament will be, so don't be afraid to pack it in there.
Step 2:
Get to stabbing, but DON'T stab yourself. I learned the hard way (3 times). Once you've sufficiently felted everything, be sure to go back around the edges to get them nice and crisp. At this point, you can remove the cookie cutter.
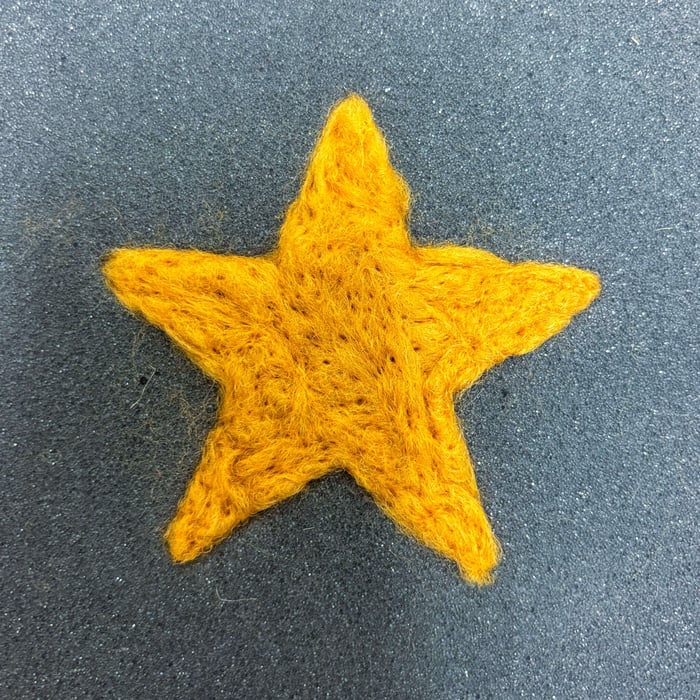
Step 3:
Carefully peel your needle felting object from the mat or surface you're working on and flip it over. Do not panic like I did when I realized how fuzzy it was on the backside. It'll look like this:
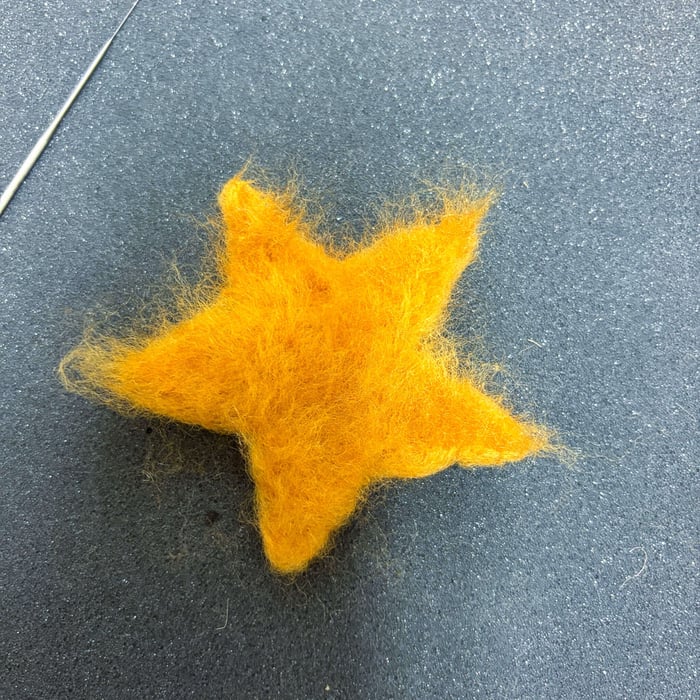
Now carefully needle felt all that fuzz back into the ornament. Once you've done that you should have a more uniform shape.
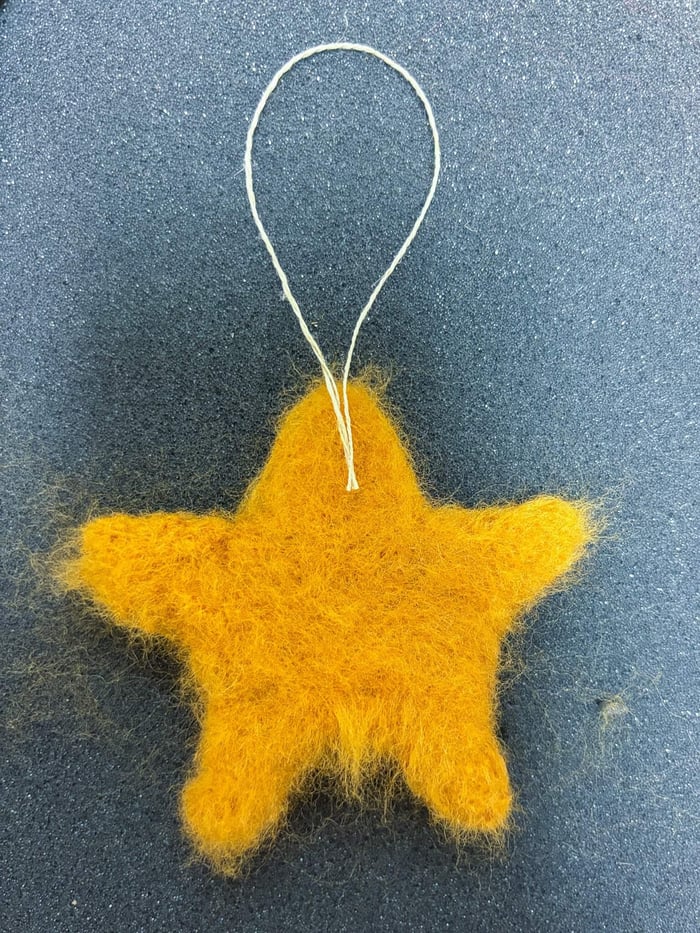
Step 4:
Attach your hanger using twine. This was probably my favorite part because it's SO easy to attach the twine. You literally just make a loop, lay some fiber on top and needle felt it down. However, make sure you do this thoroughly otherwise the loop will just come out.
Step 5:
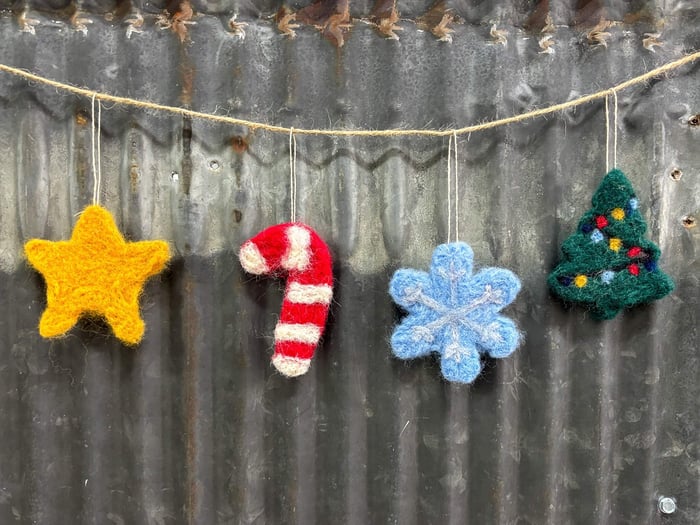
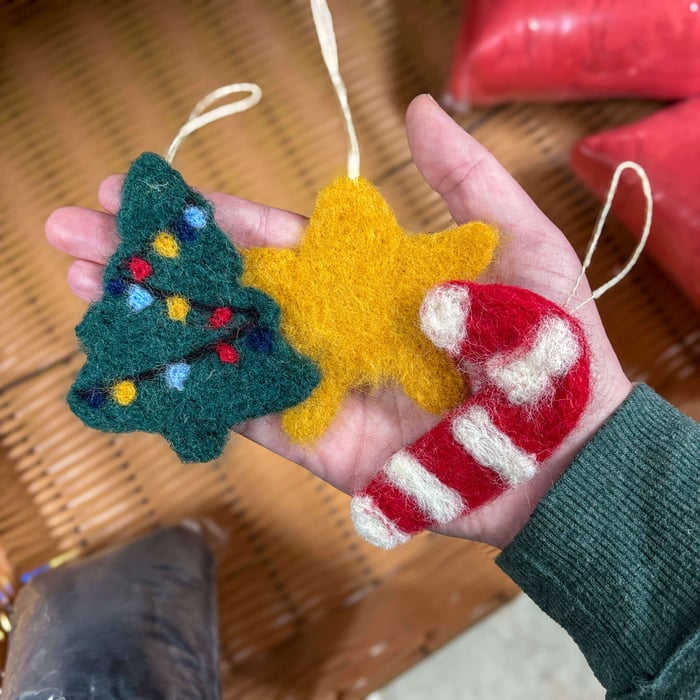
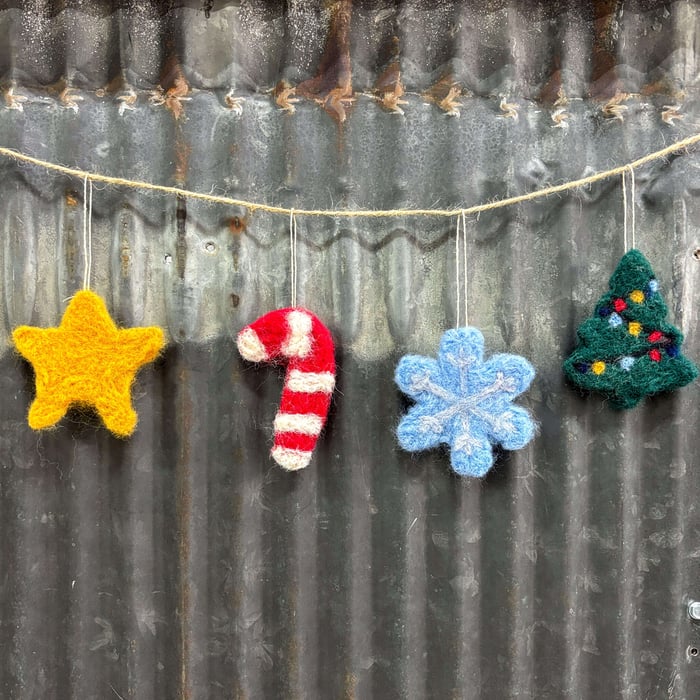
Continue to needle felt areas that need to be refined or shaped and voila! You're finished. Now do that as many more times with as many different shapes as you'd like. Don't be afraid to experiment with putting designs onto your ornaments like I did with the Christmas tree, candy cane, and snowflake. You can put these ornaments on a tree or make a garland - it's really up to you.
Go forth and felt! Be sure to tag us @thewooleryshop on Instagram if you make your own!